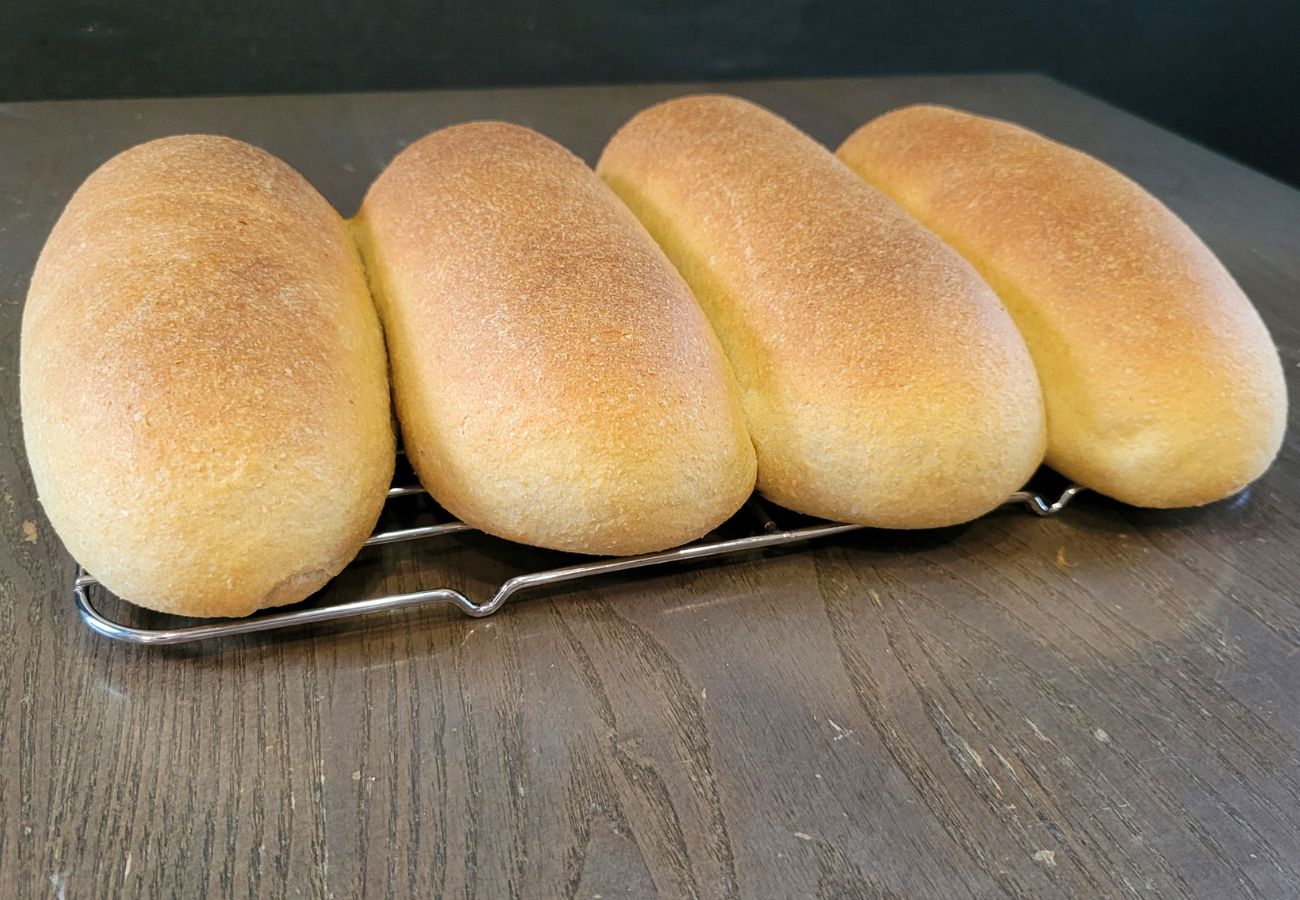
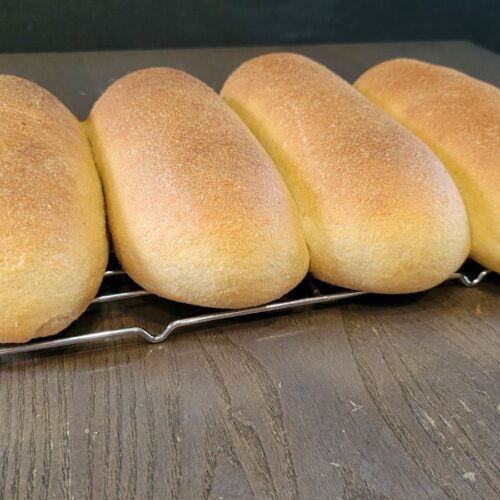
How to Make Delicious Sub Buns With Fresh Milled Flour
Sub Buns With Fresh Milled Flour can elevate your Sub, Po Boy, Hoagie, Grinder, or (insert your word for a sub here, lol). I have found throughout my travels that different regions have different names for these amazing handheld flavor-packed sandwich of goodness. It doesn’t really matter to me what you call them, but one thing is for sure, we all can agree they are a delicious quick way to get food from the hand directly into the mouth! LOL

Have you ever tasted a sandwich on freshly baked sub buns made from fresh milled flour? If not, you’re in for a real treat! Not only does it taste better, but it’s also healthier and more nutritious than bread made from processed flour.

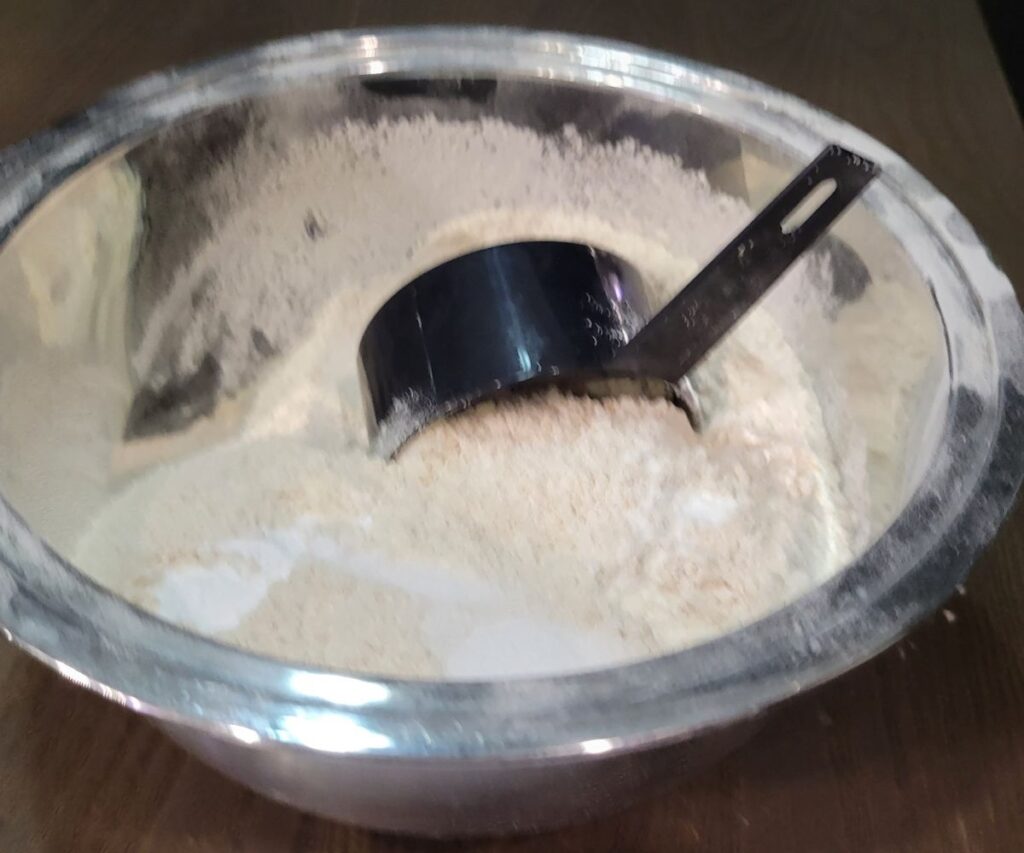
First Step Is To Mill That Flour!
Milling the Flour would be the first step in making sub buns from fresh milled flour. When milling the flour, it’s important to choose a wheat variety that will form gluten. I recommend using a hard wheat to ensure the best flavor and texture of your final sub bun product. You want that light an airy, soft and squishy, non-crumbly bun. So, to obtain this texture, you will need to make sure you knead the dough until it reaches the window pane stage. I have a short video HERE showing the window pane results you are looking for.
Ingredients For Fresh Milled Flour Sub Buns
- 4 cups of freshly milled flour (450g) (I mill 2&1/2 cups of hard white wheat to get this)
- 1&1/2 cups of warm water (350g)
- 1&1/2 tsp of salt
- 2 Tbsp of sugar
- 3 Tbsp of Extra Light Olive Oil
- 2&1/4 tsp instant yeast
Instructions For Making Fresh Milled Flour Sub Buns
- Firstly, Mill your flour.
- Secondly, warm the water to just above room temperature, but under 90*F. Then, Pour the water in mixer bowl.
- Add salt, sugar, and Olive Oil, then mix ingredients until combined.
- Add flour, and mix to incorporate, the dough will still seem sticky at this point. (Resist the urge to add more flour.)
- Then, cover, and let sit for 10-60 minutes. This will allow the freshly milled flour to absorb the liquids.
- After the rest, remove cover, and start kneading.
- Now, it is time to add the yeast, then knead on level 2 for about 10-20 minutes. Check intermittently to preform the window pane test. (see link in post with video)
- If window pane test fails, and the dough is still breaking apart when you pull on it gently, then keep kneading until it passes the test. Make sure the dough is not too dry. (every mixer and each person will have different time results, I have had to knead for up to 25 minutes before, so don’t be discouraged, and don’t try to rush the process.)
- After the dough passes the window pane test, cover and let sit at room temperature for about 1 hour, or until dough seems to have doubled in size.

After The Initial Rise
10. Then, take dough out of bowl, and place on a lightly oiled clean work surface. (I like to shape with oil to keep from sticking, instead of adding more flour.)
11. Cut the dough into 4 equal pieces, and flatten the first piece into a rectangle. Roll the dough up into a log shape, tuck the two ends under and pinch the seams. (You can oil your hands if the dough is still sticky, I typically do.)
12. Now, using your hands, cup the log of dough, and then gently slide the bottom of your palms under the dough to tighten the top surface. So as to create surface tension, which is important for a free form dough like these sub buns. (See Video for shaping)
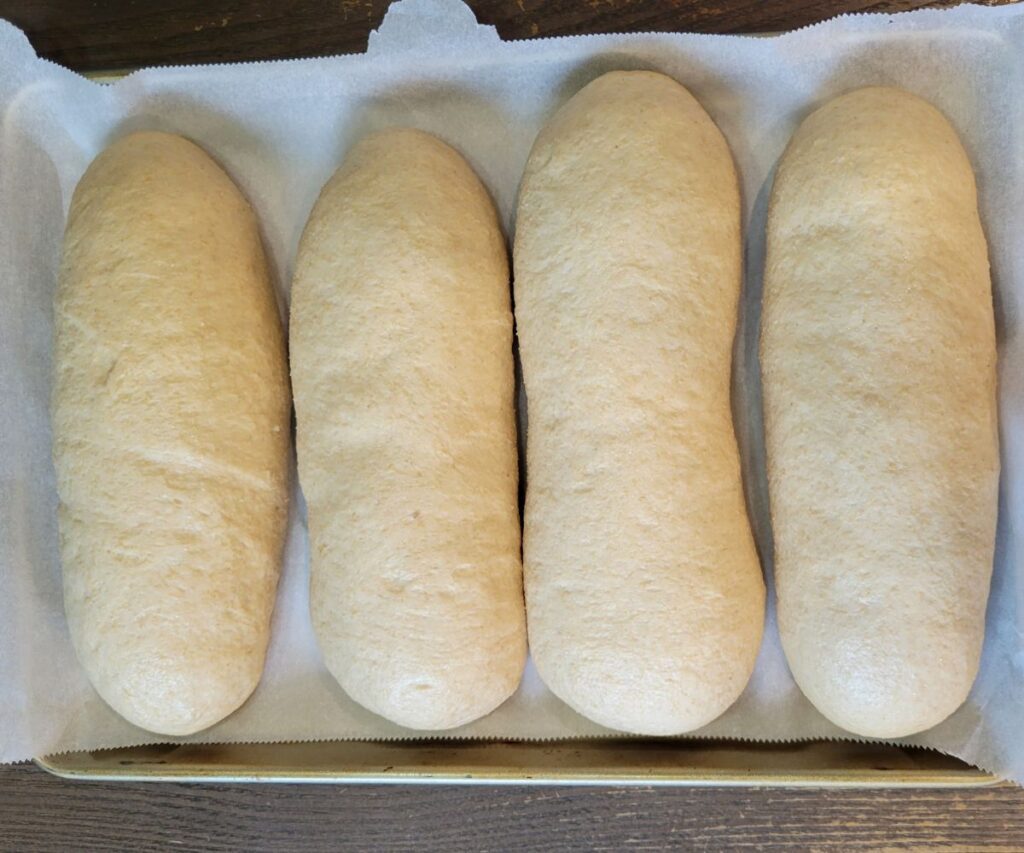
13. Place on a parchment paper lined baking sheet, and then repeat with the other 3 dough pieces.

After The Dough Is Shaped
14. Cover the dough, and let rise for 30-45 minutes, until the look puffy and smooth.
15. Preheat oven to 400*F towards the end of this second rise.
16. Spray your sub bun dough logs lightly with some water, and then spray the inside of your oven with a little water as you put the sub buns in.
17. Bake for about 20-25 minutes, or until your dough reaches 190*F internally. (Yes, I use my meat thermometer to check this!)
18. Remove pan from oven, and then place sub buns on a wire right right away to cool. (So, be careful not to burn yourself!)
19. Let cool for an hour or 2, then you can slice in half (hamburger style), and fill with any toppings you desire!
20. Lastly, Enjoy!

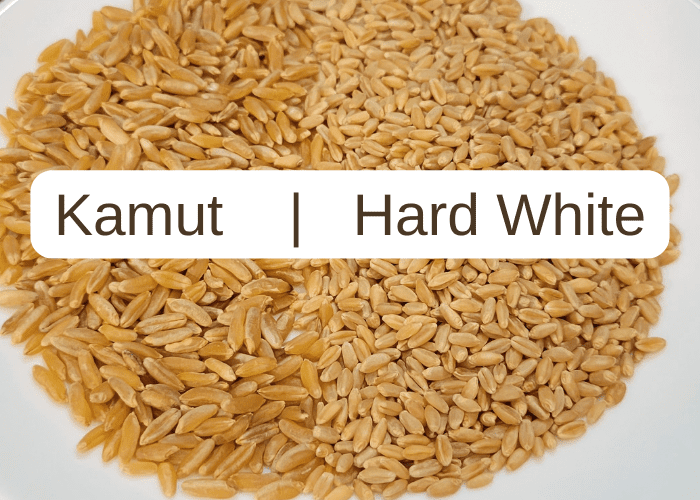
My Favorite Wheat Combination For This Recipe
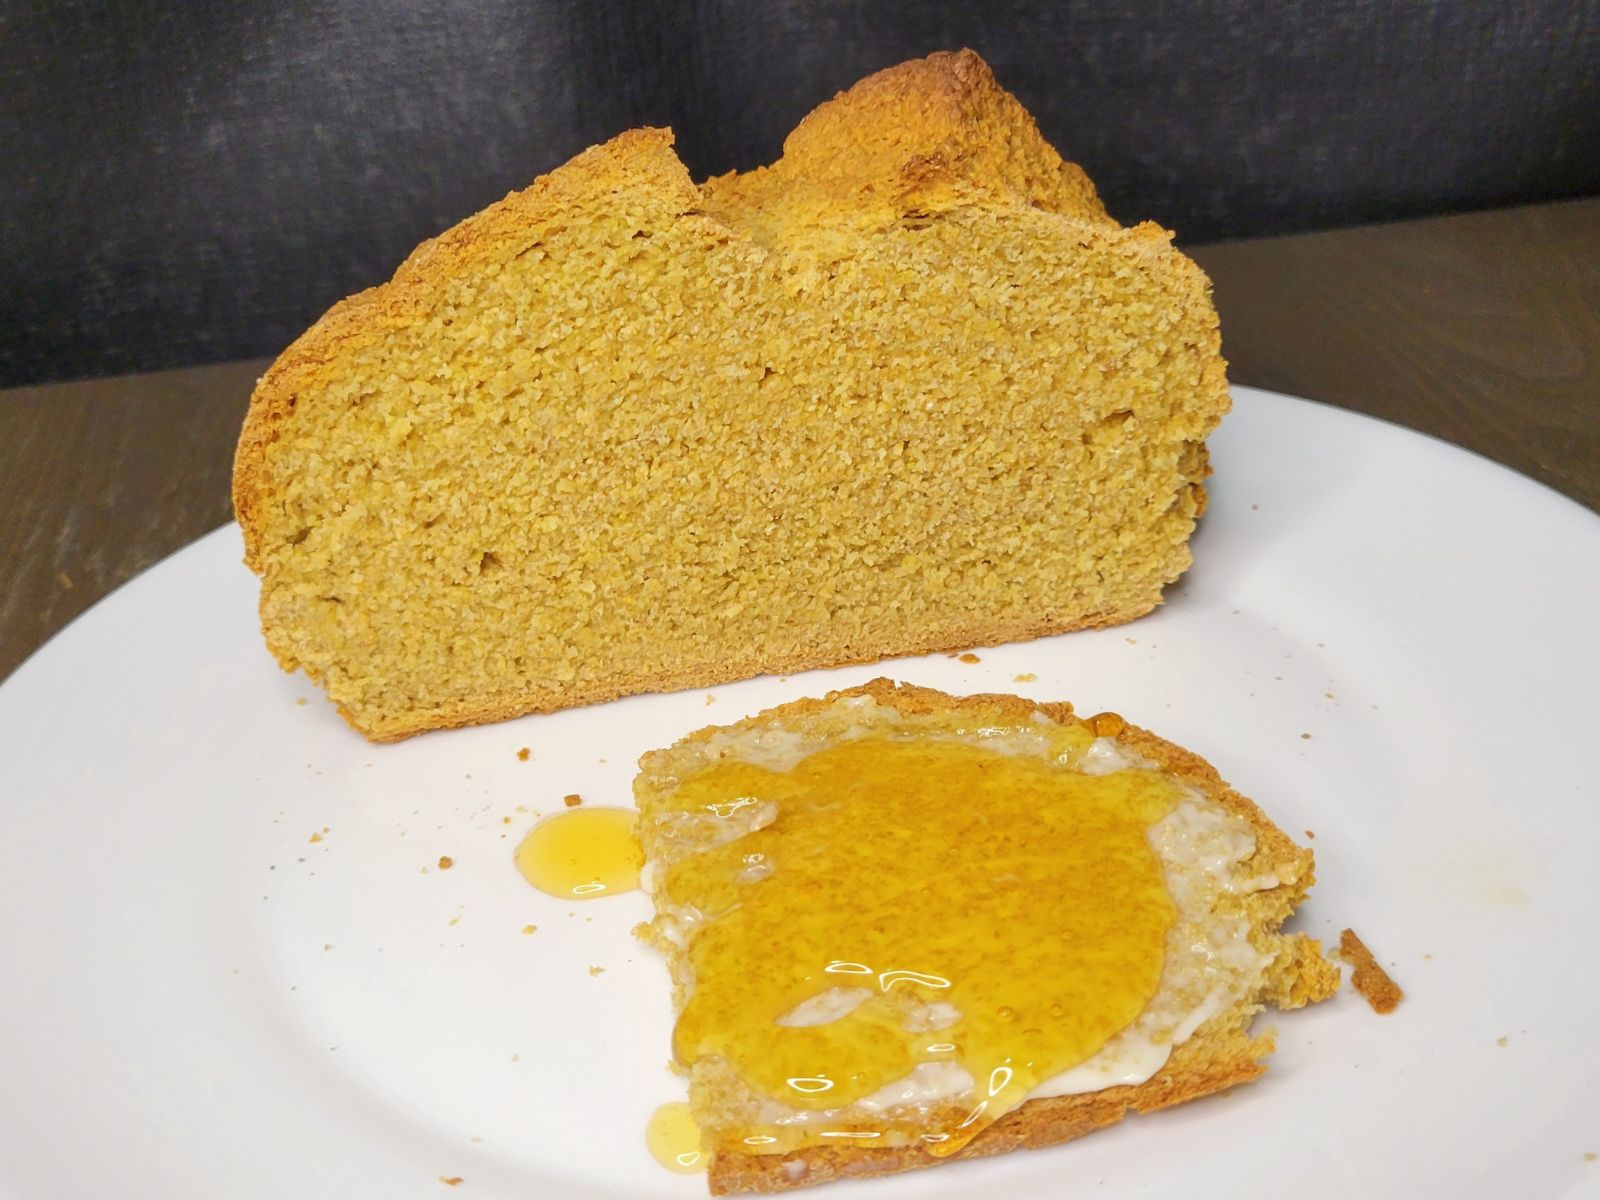
My favorite wheat Combination for this recipe would be to use about 70% hard white wheat, and 30% Kamut (khorasan wheat.) However, I am working on a recipe that increases the amount of Kamut, because I love the buttery flavor, and the beautiful golden color it gives. Stay tuned so you can see what I come up with.
Sub Night Idea!
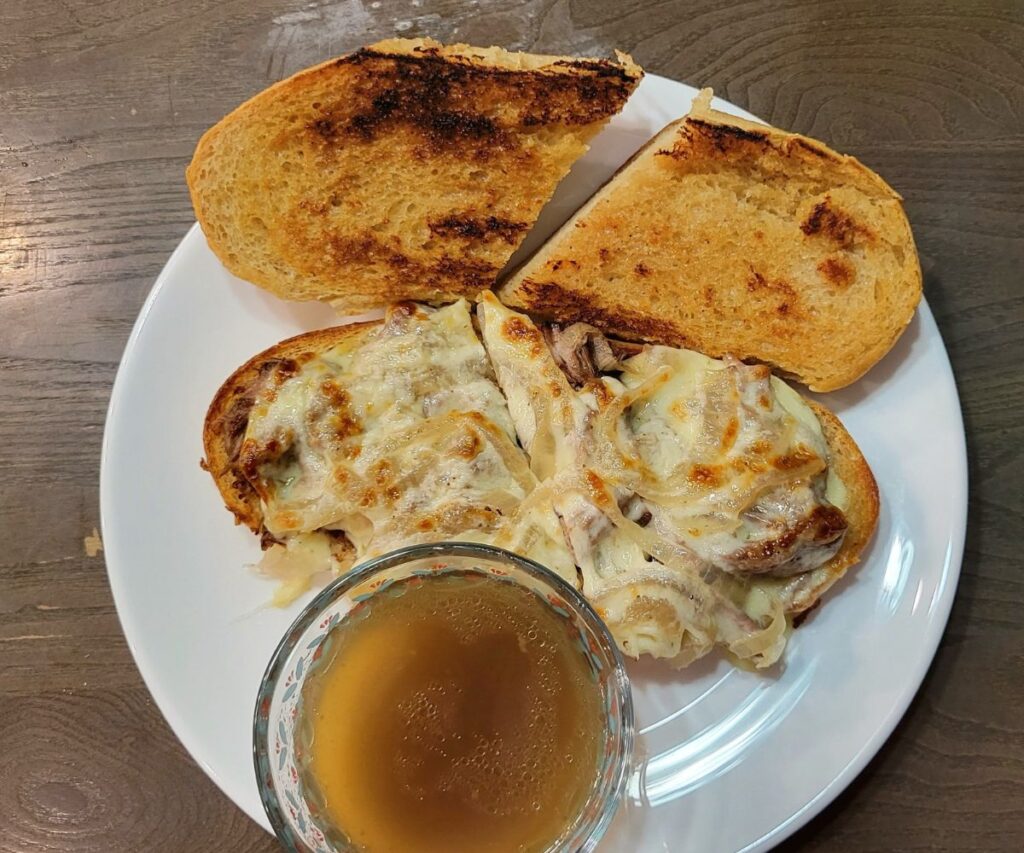
We Made some French Dip Subs with these Sub Buns, and so HERE is the recipe!
So, now you see that making sub buns from fresh milled flour can be easy, delicious, and nutritious. Therefore, by milling your own flour, you can ensure that your bread is free from additives and preservatives. Also, these whole grains provide your body with essential nutrients and vitamins. So, we hope you enjoy making these delicious sub buns and experimenting with different grains to find your favorite flavor!
Shop This Post
Checkout Some Of My Other Recipes

Sub Buns From Fresh Milled Flour Printable Recipe
Sub Buns From Fresh Milled Flour
Equipment
- 1 baking sheet
- 1 spray bottle of water
Ingredients
- 4 cups freshly milled flour 450g (I mill 2&1/2 cups of hard white wheat to get this)
- 1&1/2 cups warm water 350g
- 1&1/2 tsp salt
- 2 Tbsp sugar
- 3 Tbsp Extra Light Olive Oil
- 2&1/4 tsp instant yeast
Instructions
- Firstly, Mill your flour.
- Then warm the water to just above room temperature, but under 90*F. Pour the water in mixer bowl.
- Add salt, sugar, and Olive Oil, then mix ingredients until combined.
- Add flour, and mix to incorporate, the dough will still seem sticky at this point. (Resist the urge to add more flour.)
- Then, cover, and let sit for 10-60 minutes. This will allow the freshly milled flour to absorb the liquids.
- After the rest, remove cover, and start kneading.
- Now, it is time to add the yeast, then knead on level 2 for about 10-20 minutes. Check intermittently to preform the window pane test. (see link in post with video)
- If window pane test fails, and the dough is still breaking apart when you pull on it gently, then keep kneading until it passes the test. Make sure the dough is not too dry. (every mixer and each person will have different time results, I have had to knead for up to 25 minutes before, so don’t be discouraged, and don’t try to rush the process.)
- After the dough passes the window pane test, cover and let sit at room temperature for about 1 hour, or until dough seems to have doubled in size.
- Then, after the initial rise, take dough out of bowl, and place on a lightly oiled clean work surface. (I like to shape with oil to keep from sticking, instead of adding more flour.)
- Cut the dough into 4 equal pieces, and flatten the first piece into a rectangle. Roll the dough up into a log shape, tuck the two ends under and pinch the seams. (You can oil your hands if the dough is still sticky, I typically do.)
- Now, using your hands, cup the log of dough, and gently slide the bottom of your palms under the dough to tighten the top surface. This will create surface tension which is important for a free form dough like these sub buns. (See Video for shaping)
- Place on a parchment paper lined baking sheet, and repeat with the other 3 dough pieces.
- Cover the dough, and let rise for 30-45 minutes, until the look puffy and smooth.
- Preheat oven to 400*F towards the end of this second rise.
- Spray your sub bun dough logs lightly with some water, and spray the inside of your oven with a little water as you put the sub buns in.
- Bake for about 20-25 minutes, or until your dough reaches 190*F internally. (Yes, I use my meat thermometer to check this!)
- Remove pan from oven, and place sub buns on a wire right right away to cool. (Be careful not to burn yourself!)
- Let cool for an hour or 2, then you can slice in half (hamburger style), and fill with any toppings you desire! Enjo
Video
Notes
*This post contains affiliate links, which means I make a small commission at no extra cost to you! As an Amazon Associate I earn from qualifying purchases. But I will only suggest items I actually Love and Have Used!


These are SO delicious! I did a double batch (because again, who doesn’t double a recipe their first time!) of half hard white wheat and half Kamut. They were so amazing. Thank you for including the instructions on yeast when doubling/tripling.
I’m glad it was hot yesterday because I totally messed up the time on the final rise and only let them go for 20 minutes. Oops. But they’re so perfect.
For Ank users: I used the roller not the dough hook, turned it to about 2 o’clock, and kneaded for 9 minutes before window pane on this recipe.
Yes, we love them too! Thank you so much for the info on the Ank, as I have not had the pleasure of working with one… yet
I want to use my sourdough starter in a lot of your freshly milled flour recipes, including this one, in place of yeast. Can I substitute it somehow? Is there a hard and fast rule to incorporate it? Or would it be easier to use a sourdough recipe then use freshly milled flour instead of AP because it is difficult to to find a lot of recipes that are both FMF and Sourdough. Thanks!
For the most part, you can omit the yeast, and add in about 1/2 cup 113g (Heavily fed the night before) sourdough starter. Then just watch the rise times, they will be longer. I am trying to share some fresh milled flour recipes made with sourdough as well as yeast. I do have a sourdough sandwich bread, and some others as well all made with fresh milled flour. Here is a link to my sourdough section. https://grainsinsmallplaces.net/category/sourdough-recipes/ Happy Baking!
I’ve made this recipe probably 10 times in the past couple months! I used all hard white (no kamut) and it worked well. So good, and turns out fantastic every time. I doubled today and it worked great too. Thanks for a delicious recipe!
Yay! I am so happy to hear that! Thanks so much! 😊
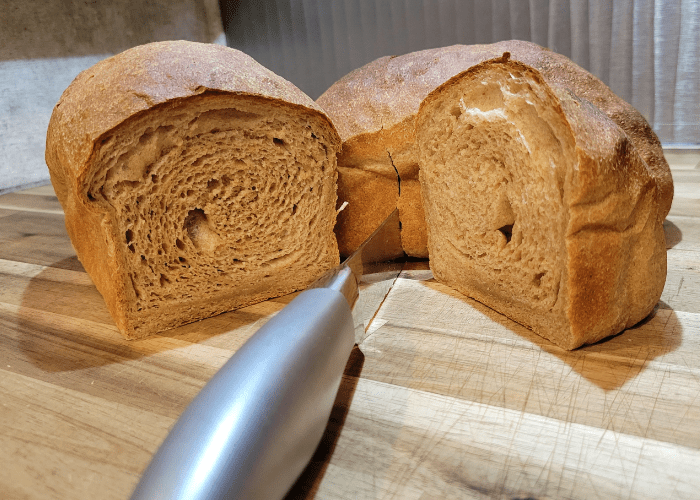
How big are the loaves? I wasn’t sure from your pictures. Thank you.
If making one batch, I can get four pretty thick 9 inch long loafs on my 9×13 pan.
I’m new to baking bread in general, so if I double this recipe should I use a total of 3 tsp of yeast? And even if you triple, 3 tsp of yeast is still enough? I guess I’m not quite sure how yeast works haha. TY!
I actually have been doubling and tripling the yeast when I double or triple the recipe, I have now updated that on my website. Thanks so much! 😊
Thank you for sharing this recipe both in writing and on the video. It looks amazing. I will definitely be trying out this recipe. God bless you!
My pleasure! I hope you love them! 🙂
I used the exact recipe until shaking, I cut into 8 pieces & made round buns. Then baked for 15 minutes. It worked & tastes great!
If I double or triple the recipe can I freeze at some point? Before or after rise? After baking?
Thanks for sharing such great recipes!
Awesome! So glad to hear that! You can freeze them after shaping before the second rise. Put them in the fridge to thaw the night before you want to bake with them, then let them sit on the counter to come to room temp (about 1-2 hours) then bake.
I just started milling my own flour in May. I made the sub buns earlier this week to have with drip beef. Today I made the dough, divided into 8 to make hamburger buns to serve with my husband’s smoked brisket. Thank you so much for the recipe and great instructional video!
Awesome! I am so happy to hear these were a hit! Thanks so much. Yum! now I want one! 🙂
Can you use half Kamut and half hard white berries?
I really recommend using mostly a hard wheat, 80% hard wheat and 20% Kamut is the most I typically go. As Kamut does develop gluten, it is not super sturdy to hold up a loaf of bread.
Absolutely delicious! Your recipes never disappoint! I doubled the recipe, including doubling the yeast as I never saw anything noted about that. I supposed if I’d had more time I could’ve used less yeast but I was trying to have them done quickly. Soooo nice and soft, even the second day. Thank you!!
Awesome! I am so happy to hear they were a hit! Thanks so much! 🙂
How long can you let the dough rest to absorb liquid? Would a couple hours be ok?
Thank you for all your recipes!
I have let it rest several hours before adding in the yeast. Some tell me they let the dough rest overnight before adding the yeast. It is whatever you are comfortable with.
Hi Kara;
Great recipe. We made this for the first time today. Perfect texture, crust was awesome, tasted fantastic; only thing I did wrong I think, was the length. Your recipe says to shape it into a rectangle. No dimensions. I guess I made them too long because they didnt get much of a rise.
Can you give a rough width and length please?
Also, I see you dont sift the bran, soak it separately, then add it back in at the end of kneading. We’re not very experienced yet and found we needed to do that in the past. (At least we thought that was the problem.) Are we carrying it too far?
Thanks. Thats fantastic bread.
I have made them in many different sizes. If there wasn’t much rise I would maybe try a new batch of yeast and see if that helps. Also, make sure the dough is nice and stretchy this can affect the rise as well. Here is the video I show what the dough should look like, and shaping, etc. https://youtu.be/SMeObO0T7pE
I hope that helps!