GISP Method – The Secrets To The Best Fresh Milled Flour Bread
What exactly is The Grains In Small Places (GISP) Method? The GISP method is a series of tricks that I have developed over the years working with fresh milled flour. I went through so many tests, troubleshooting, and just straight up failures to learn all that I have learned! And, I am still learning with every bake! So, now I want to share all my secrets to getting the best fresh milled flour breads and baked goods. So, let’s dive right into it.
*pssst- If you are only interested in sourdough, scroll to the bottom, I have a Bonus GISP Sourdough Methods Section

So, as you know each person is a different baker with different experiences. I find a lot of people who are experienced with baking with white flour, will tend to bring over some of those tried and true rules they learned, but fresh milled flour is just different. So, all those rules don’t really work out the same.
GISP= Grains In Small Places
GISP New Methods (Secrets To The Perfect Fresh Milled Flour Bread)
My methods are new, and not what all the other blogs and teachers are teaching. So, it goes “against the grain” of a lot of other resources available. But, I have true trial and error testimonies from myself, and many others who have used my methods.
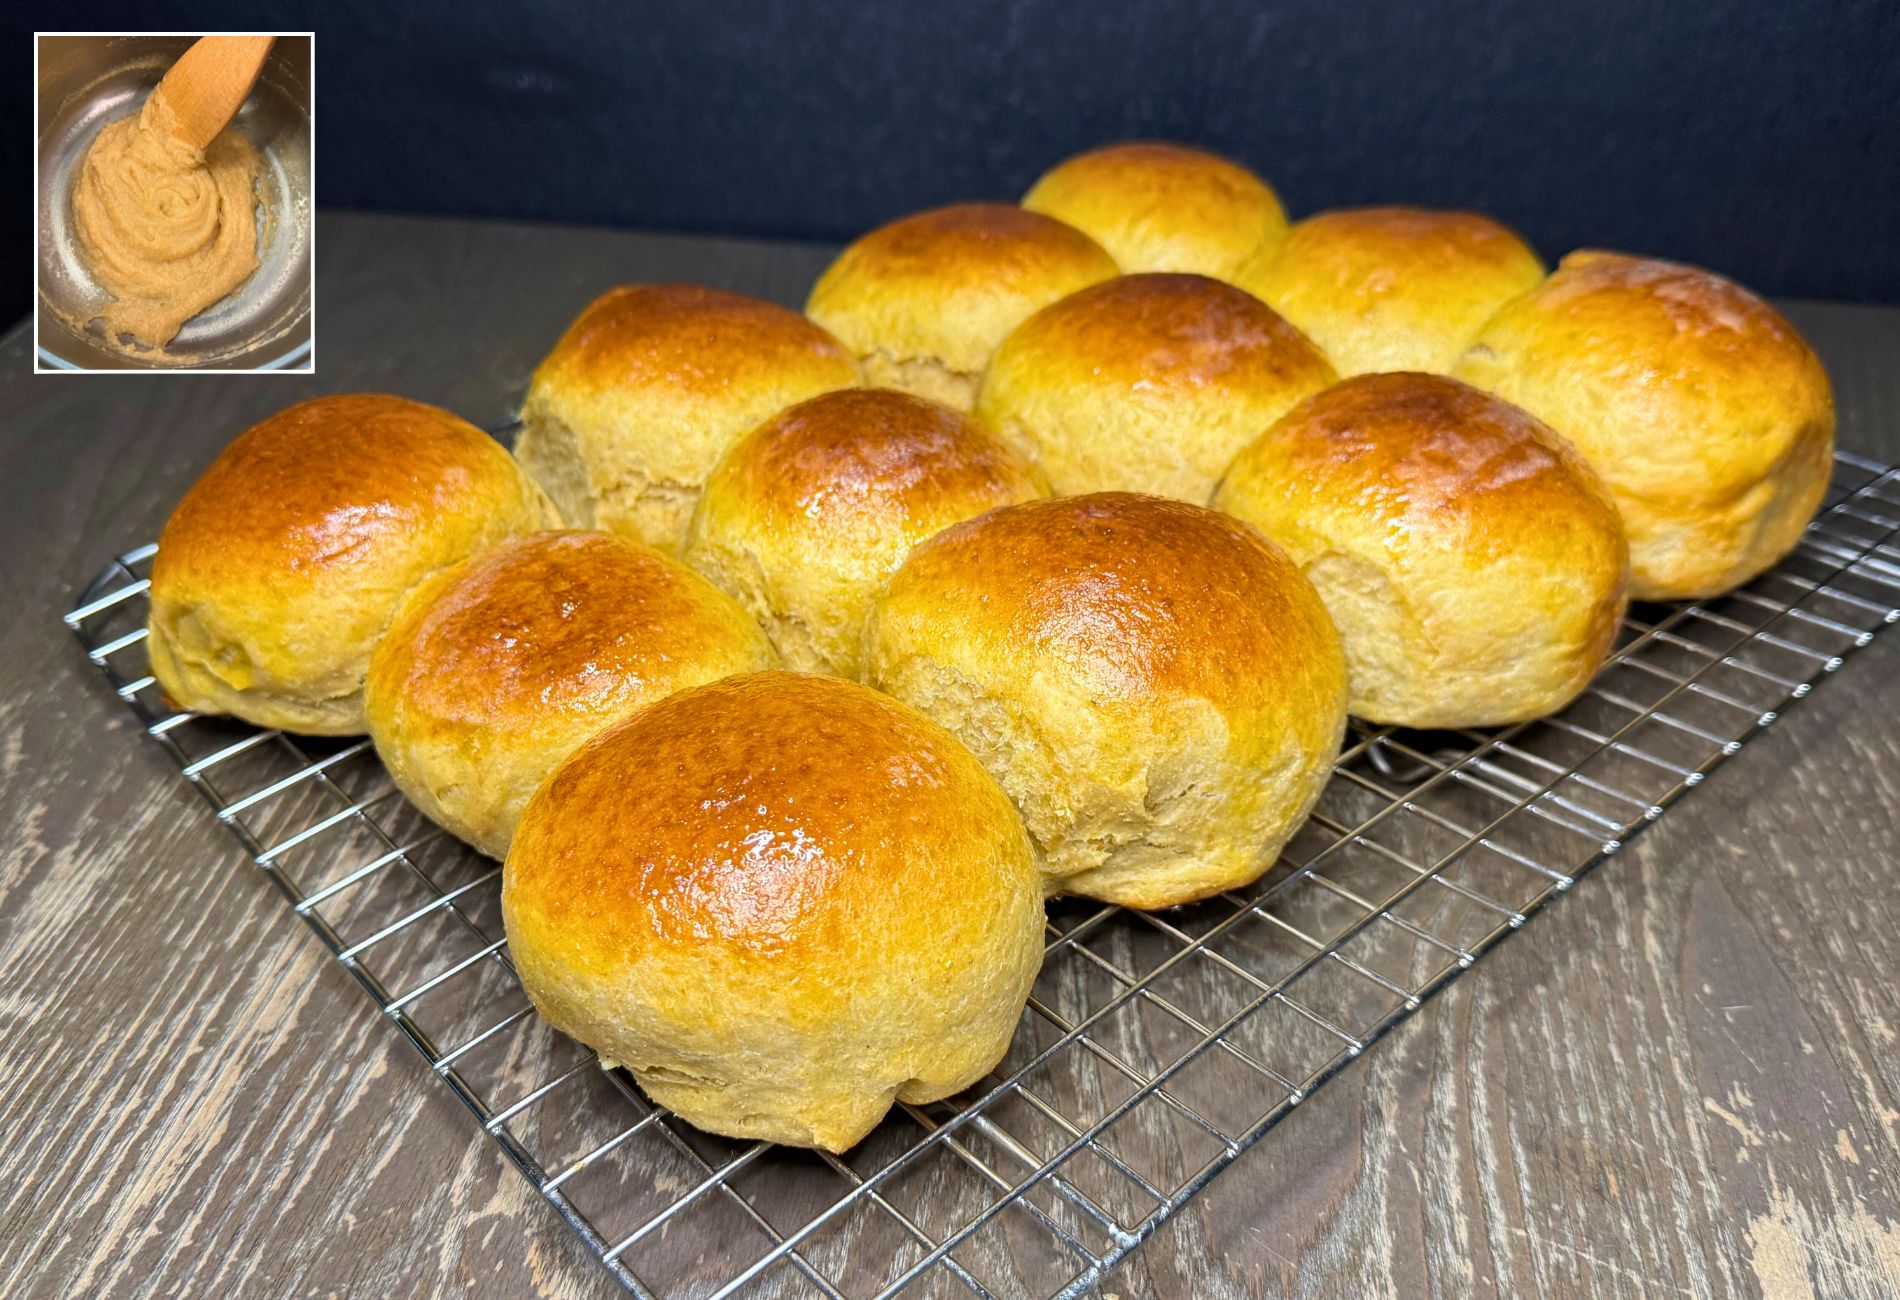
Unfortunately, there is outdated information out there. But, thanks to the GISP method, fresh milled flour can make soft squishy breads, just like the sandwich breads in the store. With the other methods, the bread is still wonderful, and there are times I want a slightly denser loaf. So, I will make it both ways, and there is nothing wrong with that! We all like different things.
“Mom, Will You Just Buy Bread From The Store?”
But, my passion came one day when my son said, “Mom can you just buy me a loaf of bread from the store?” …. I almost cried, I did cry inside. So, I was determined to make my bread just as delicious, or even better than store bought bread. And, you know what? I did buy him that loaf from the store, and he didn’t like it!!! Hallelujah! I had done it! So, I had to share my methods with the world!!! Or to anyone who would listen.

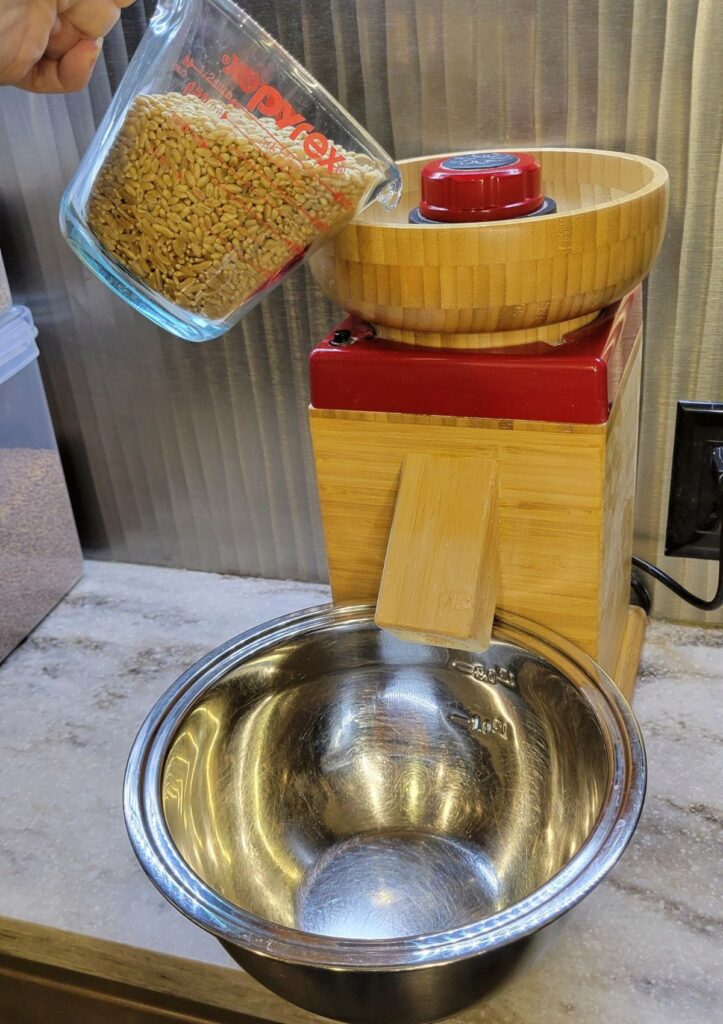
What Wheat Do I Use To Make Fresh Milled Flour Bread?
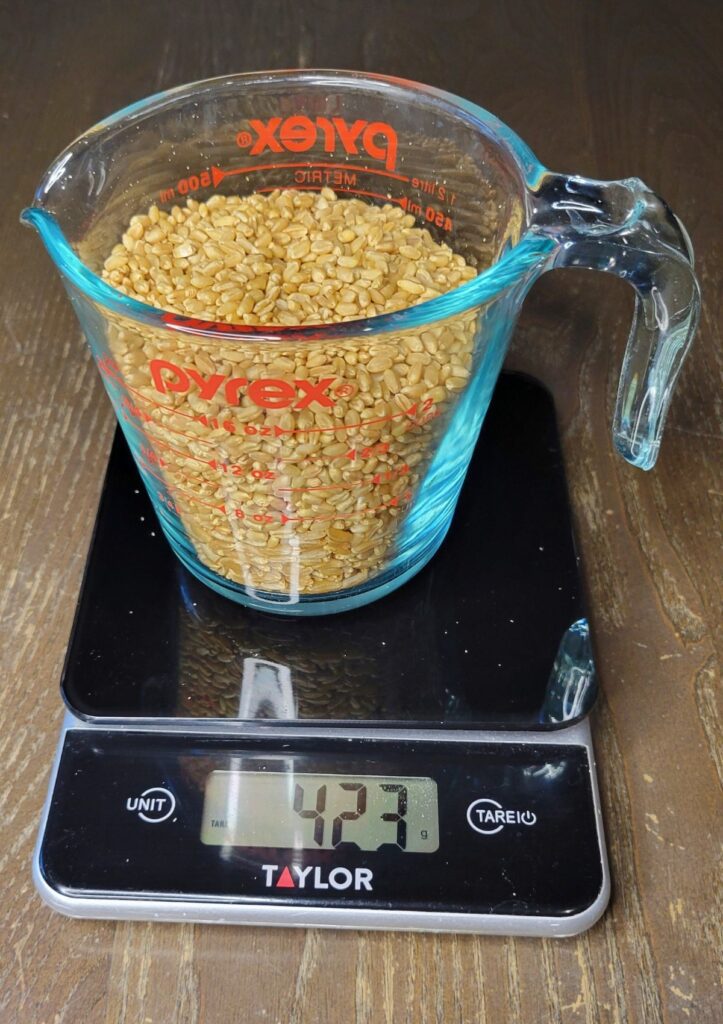
So, before we dive in to the secrets, we need to talk about what wheat varieties to use for breads. The majority of the fresh milled flour you use for bread should consist of hard white wheat or hard red wheat. This is because it has a higher protein, is strong enough to raise bread, and will develop gluten. You can add a small amount of ancient grains, or other wheats to the hard wheat for flavor, texture, etc.
GISP Method – Secrets To Fresh Milled Flour Perfection!
These are just basic steps that I have outlined that can be used with any fresh milled flour recipe! So, if you have a favorite one, try using these GISP methods with it, and see if your results improve! If so, I would love to hear about it down in the comments below!
Step One – Autolyze
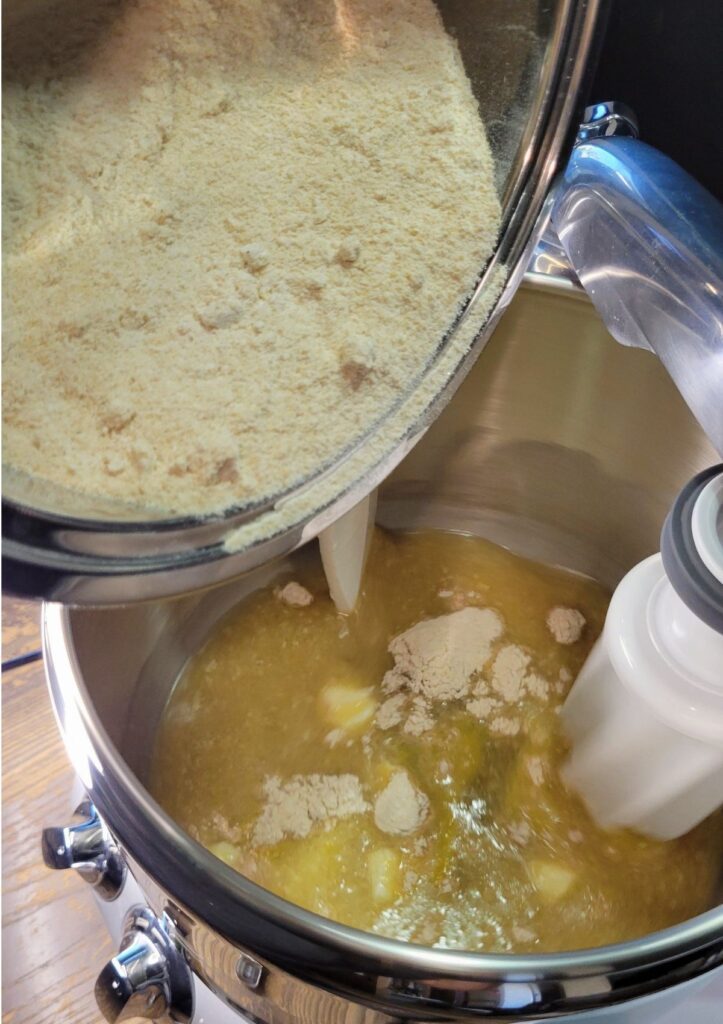
What do I mean by Autolyze? I have a particular method that I like to teach that may be a bit different from other autolyzing methods you have heard of. Firstly, I like to mix all of my ingredients together except the yeast. I mix them all together until incorporated, then cover and let sit.
This resting period needs to be a minimum of 15 minutes, but can last longer if you need to work around your schedule. Remember, the yeast is not in the dough yet, so you don’t have to worry about rise times or over proofing if you need to run some errands, or life happens, and you just forget about it.
The rest period allows time for the freshly milled flour to start absorbing the liquids, which takes much longer than white flour does. Also, this allows the bran to start to soften. Unsoftened bran will work against you, as it’s sharp edges can tear and break apart the gluten strands you are trying to develop as you knead the dough.
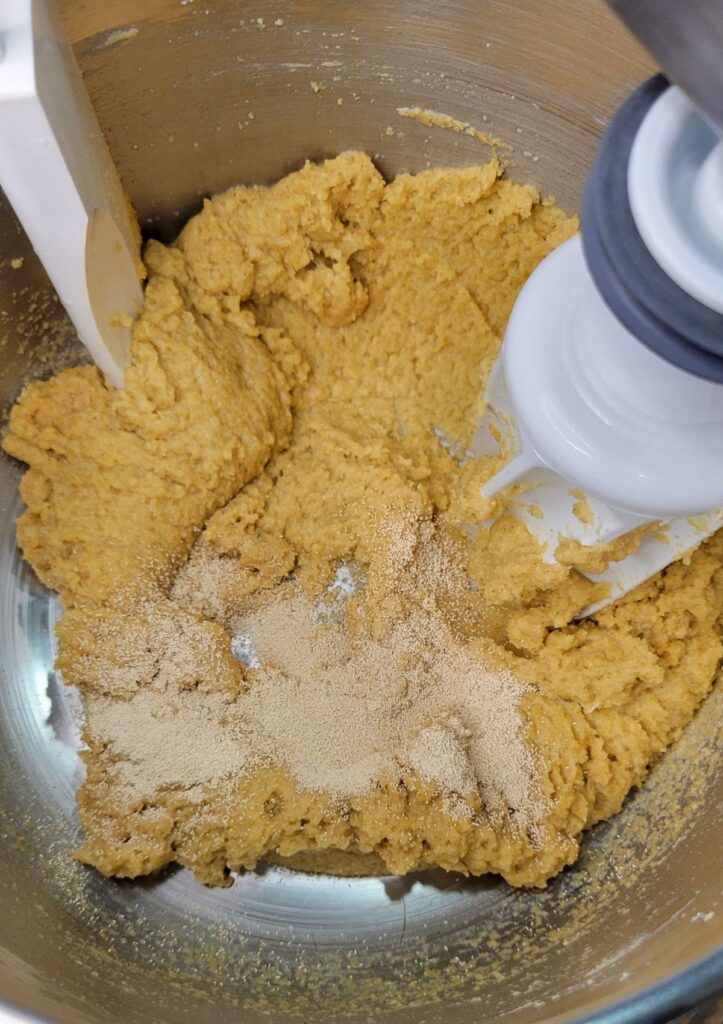
Don’t Forget The Yeast!
I like to leave my measuring spoon on top of the bowl to remind me to put the yeast in before I start the kneading process. So, after this autolyze period, I will then put in my yeast and start kneading. This brings us into the next step of the GISP Method, which is kneading.
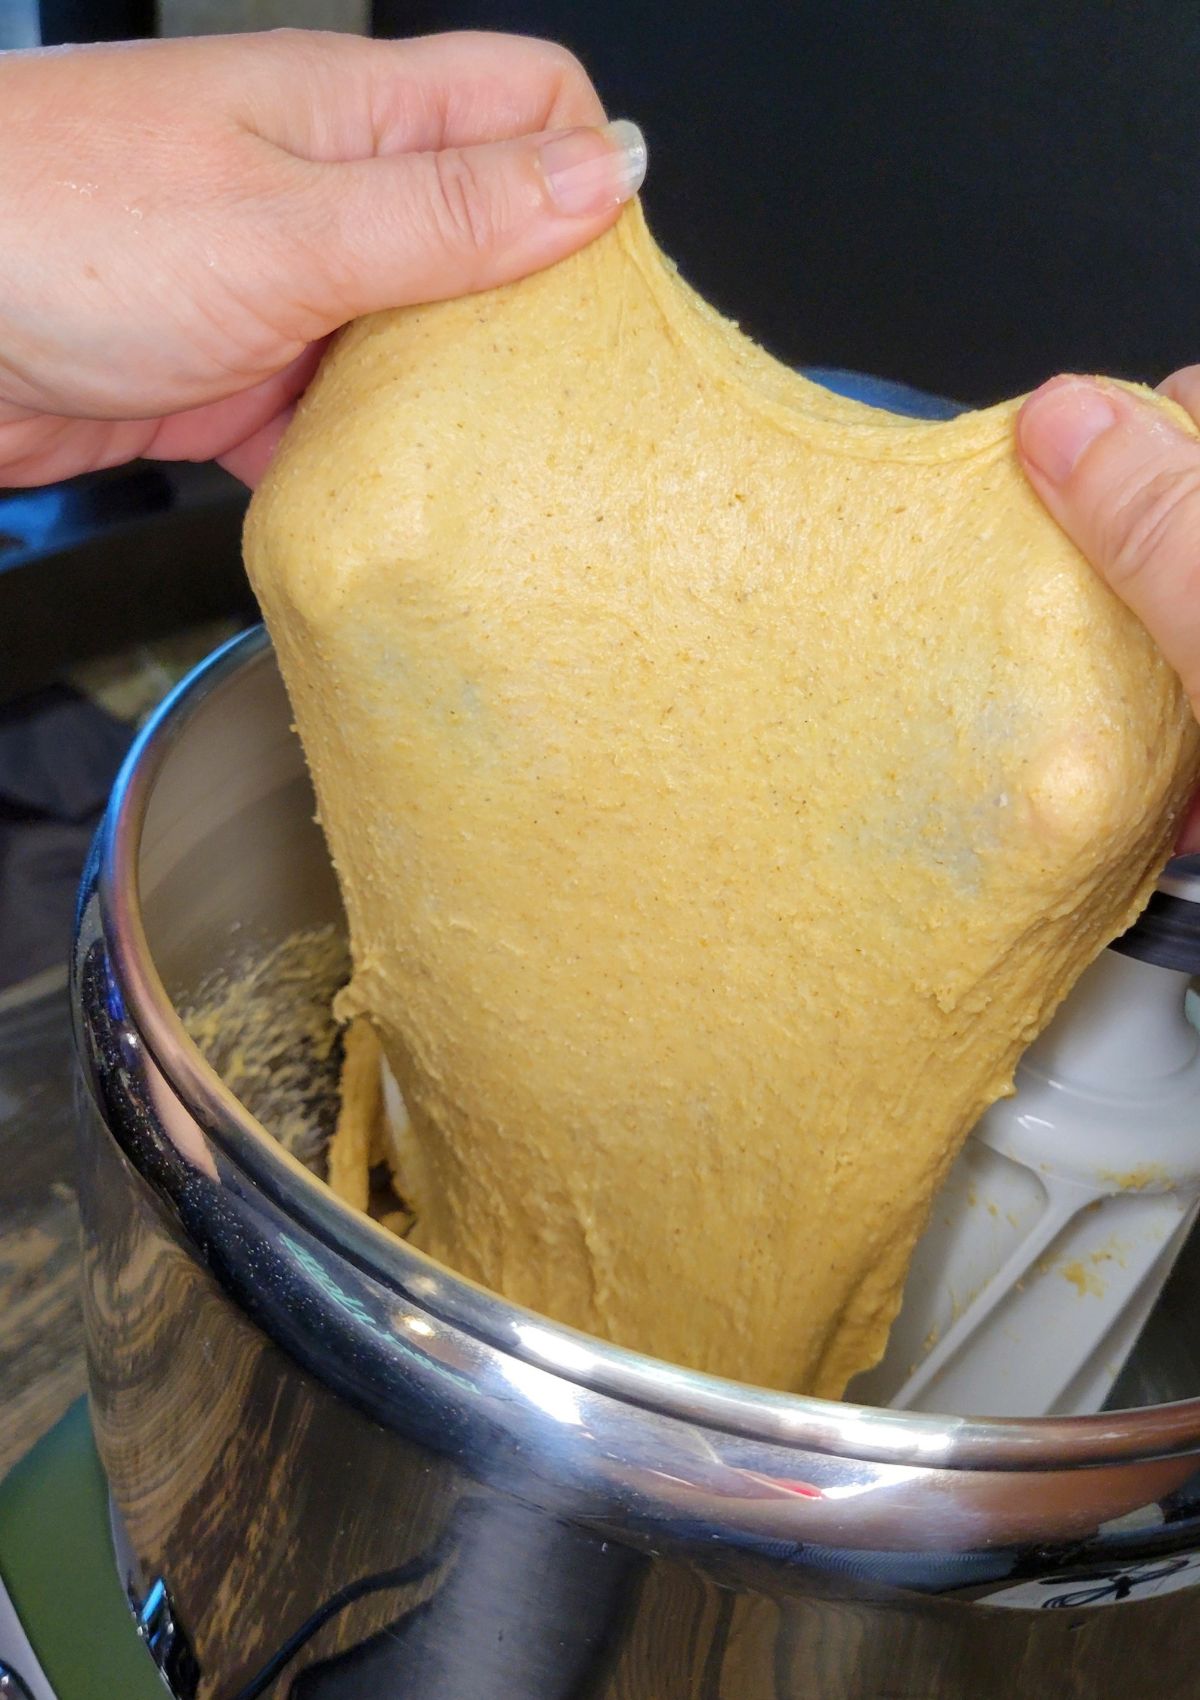
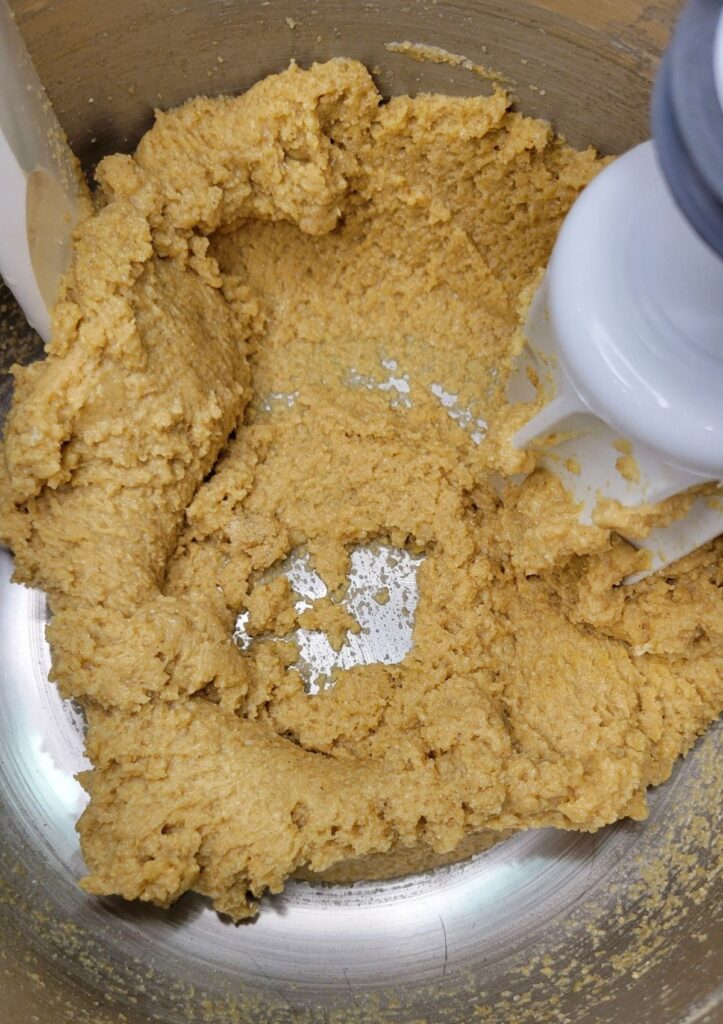
Step Two – Working With A Wet Dough
However, before we can talk about the kneading process, we must address the elephant in the bowl! I am sure at this point you are asking, isn’t my dough too wet? Should I add more flour? This just doesn’t seem right. Did I mess something up?
Chances are you did everything right, but you may be used to working with white flour. The older methods where you are told to keep putting flour into the bowl, until the dough pulls away from the sides, just doesn’t work great with fresh milled flour. Again, these methods will still give you decent results, but not the super soft, fluffy squishy breads. Too much flour will equal denser bread. So, fight this urge to add more flour. You need a wet and sticky dough for these methods to work.
Later, I will talk about the window pane, but if the dough is too dry, then no matter how long you knead the dough, it will never, I repeat NEVER come to a window pane. The number one reason that the window pane is not achieved, when people contact me with issues with their bread, is too much flour! I was there once, I knew how to make bread with white flour, and just assumed it was the same. But, boy was I wrong!
Step Three – Kneading
How Long Do I Knead Fresh Milled Flour Bread?
There is no hard and fast rule to go by when it comes to kneading times. And, any recipe that says knead for 5-7 minutes is probably not going to give you the best results. (These shorter kneading times may work for white processed flour, but not fresh milled flour.) Again, those older kneading methods will still give you decent bread, but not the super soft, fluffy, squishy breads.
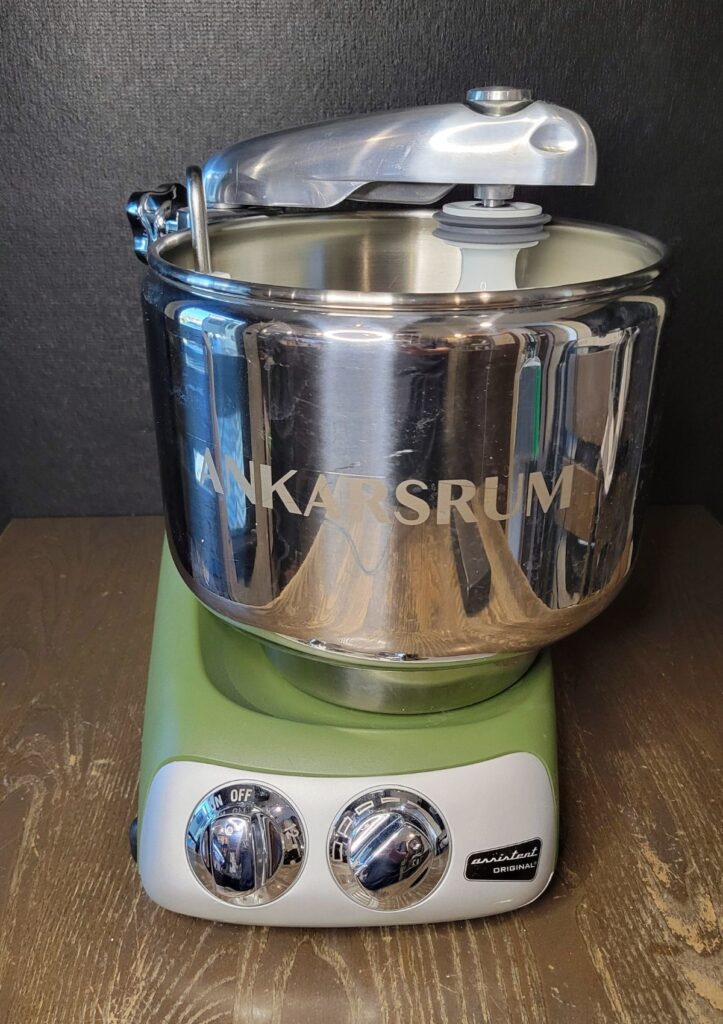
Mixer Varieties
There are many different mixer varieties out there, and I have used many. In fact, on my You Tube Channel I have reviews of a few of them. But, a good quality mixer is worth it’s weight in gold! Because there are times I have to knead in a mixer for over 20 minutes! So, you can imagine kneading by hand what a labor of love that can be!
So, rather than be concerned about the time of kneading, I really want you to start watching and feeling your dough. I know this is strange, and when you first start out, you may not understand what I mean by this. But, as you make bread with fresh milled flour over and over, you will see what I mean.
You want to look for stretchy smoother dough after kneading. Sometimes you may need to take your dough out of the mixer, scrape the sides an flip it over. Start kneading again, and it will come together before your eyes! Once you see this transformation of the dough happen, it will change your bread making skills for life!
Kneading For The Window Pane Test & What Is A Window Pane? GISP Method
I don’t want you to get too focused on the window pane, this is just a little test we can do to make sure the dough is nice and stretchy, and that the gluten strands have been formed and are strong. It is ok to continue on without a window pane. But, when you do achieve that beautifully stretchy dough it gives you a sense of satisfaction like never before in bread making!

Can I Hand Knead Fresh Milled Flour Bread?
I do offer a few recipes that are made for hand kneading, but my most popular recipe for people that don’t own a mixer yet is my No Knead Bread, you can find that recipe HERE. This is a denser heartier boule type loaf.

So, now that we covered some of the important tips for yeast bread, if you are interested in sourdough, I have a GISP Method for it too!

Bonus Section – Sourdough Secrets – GISP Method
This post is just loaded with all my secrets! Heck, it’s after 1 am, so I must just be tired. Maybe I will regret telling everyone! LOL.
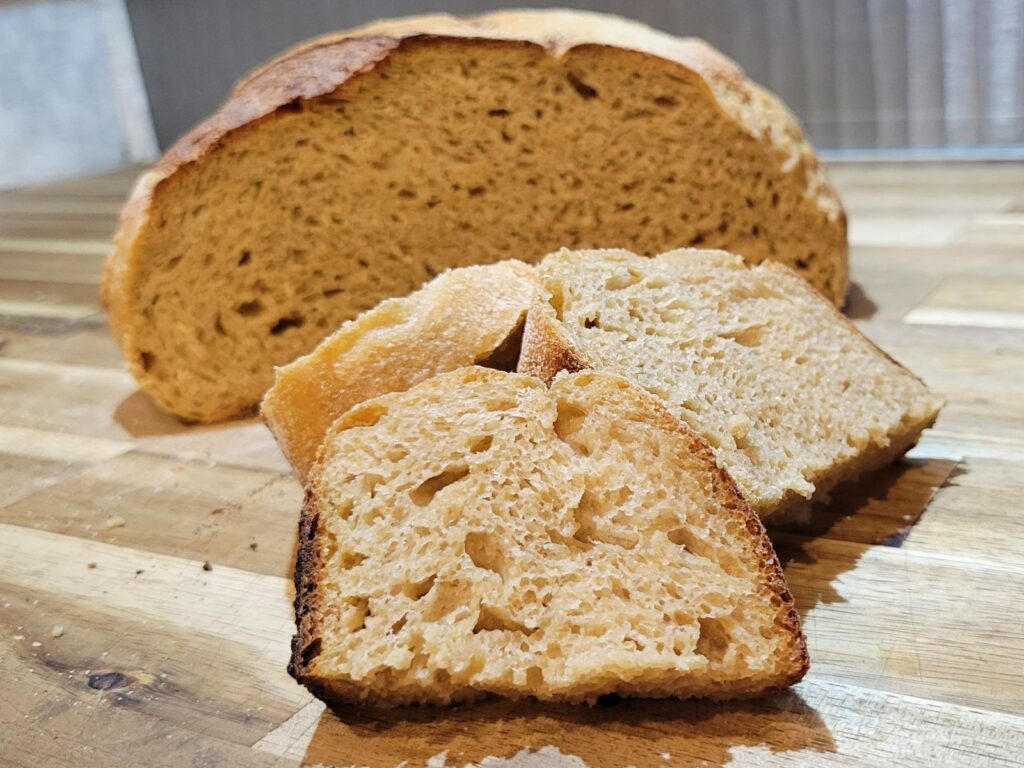
Step One (Sourdough)- Higher Hydration
I have found working with sourdough and fresh milled flour, that I need higher hydration levels. Fresh Milled Flour is just so thirsty! (with the exception of soft white wheat, which we don’t use much in bread baking, so that is a whole other post) So, I have increased the hydration in my sourdough boule loaf recipe HERE to account for that.
Step Two (Sourdough)- Fermentation Times
Also, it is important to note that Sourdough made with fresh milled flour ferments faster, there is just no way around that. Because it ferments much quicker, this makes an overnight ferment very difficult with fresh milled flour sourdough breads. I have found that it just gets too acidic.
So, I recommend either a very short time in the fridge, or not in the fridge at all (This is what my family prefers.) I just start making it in the morning, then play with it all day doing stretch and folds, whenever I can work it into my schedule. I will bake it in the evening. Then, the hardest part… Let it sit… All night long… This allows the loaf to cool completely before cutting into the loaf. I just plan on eating it the day after I make it.
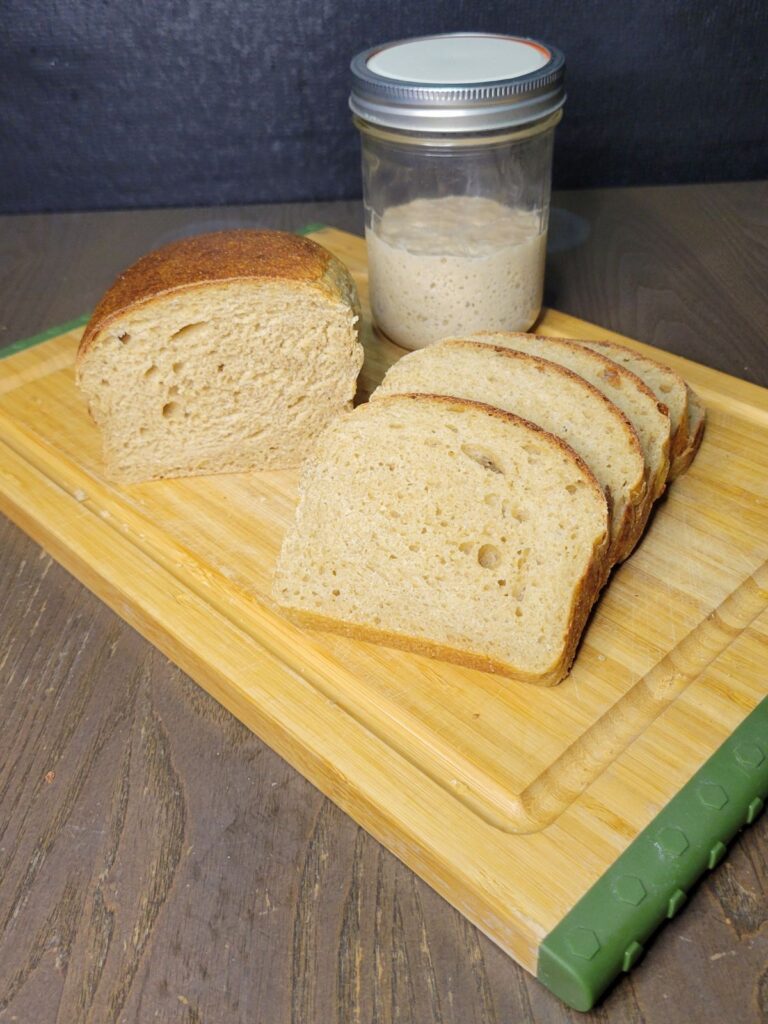
Making Your Own Sourdough Starter With Fresh Milled Flour- GISP Method
I have some resources to make your very own sourdough starter using 100% fresh milled flour. I show you step by step in my video HERE, and I make one right along side of you! If you prefer to read the info, I have a post on how to make your own sourdough starter from scratch with freshly milled flour HERE.
So, I hope this information was helpful to you! Please feel free to share the link to your friends and family, or whenever you hear someone that is struggling with fresh milled flour bread. Help me get the message out, the GISP Method is new and here to stay! I want to be a resource of help and encouragement, please spread the word!
Sincerely,
Kara
Shop This Post
Nutrimill Harvest Grain Mill – Use Coupon Code: Grainy for $20 Off yours
Azure Standard has some great deals on grains
Checkout Some Of My Fresh Milled Flour Recipes Using The GISP Method
Make Your Own Sourdough Starter From Scratch
All Purpose Flour Blend With Fresh Milled Flour
*This post contains affiliate links, which means I make a small commission at no extra cost to you! As an Amazon Associate I earn from qualifying purchases. But, I will only suggest items I actually Love and Have Used!


I have been successfully making sourdough whole grains breads for a few months now. I discovered this method by necessity . I fed my starter in the mid morning which is usually a stiff starter of about 60-70 %. I always weigh and stage my ingredients at the same time I feed my starter. By evening I am putting it all together. I work on developing my gluten as long as I can before bed. I cover my dough and put it in the refrigerator overnight. The next morning it pull out my dough out of the refrigerator as early as I can. I let it warm up mix it a bit more, do my stretch and folds until I see a window pane. I fill a 4 oz jar half full of dough, cover it and use it as a guide as I bulk ferment. I cover my dough with a shower cap as it bulk ferments. By the afternoon or evening I am ready to shape my dough. Sometimes I bake right away sometimes I refrigerate overnight and bake the next morning. It works great!
Awesome! Glad this has been helpful! Thanks! 🙂
How would I autolyse overnight in the fridge? Wrap the dough in plastic wrap? Is there a maximum time limit you would set? I started making my bread recipe too late in the evening and realized that I should probably stop here at the autolyse and finish in the morning. Thanks for all your amazing recipes and advice!
For yeast bread, I will autolyse in the fridge overnight after the shaping. Then put on the counter the next day to come to room temperature (usually 1-2 hours) Then bake as directed. For sourdough, I don’t recommend an overnight autolyse, as it will cause the dough to over ferment.
What speed do you use to knead the bread?
I generally knead around the 2 mark