Fresh Strawberry Refrigerator Cake – My Grandma’s Recipe
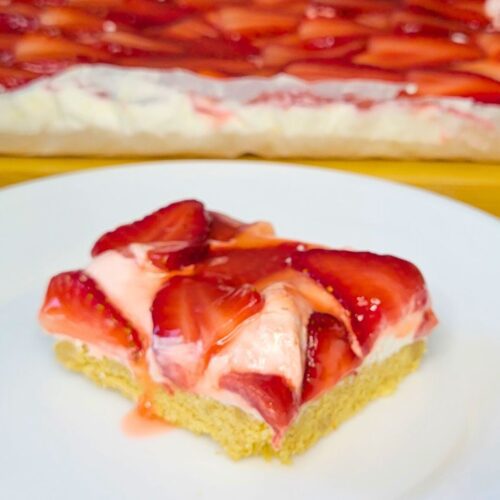
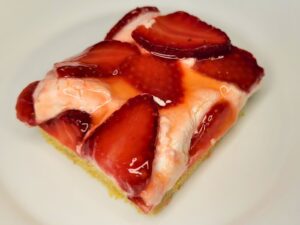
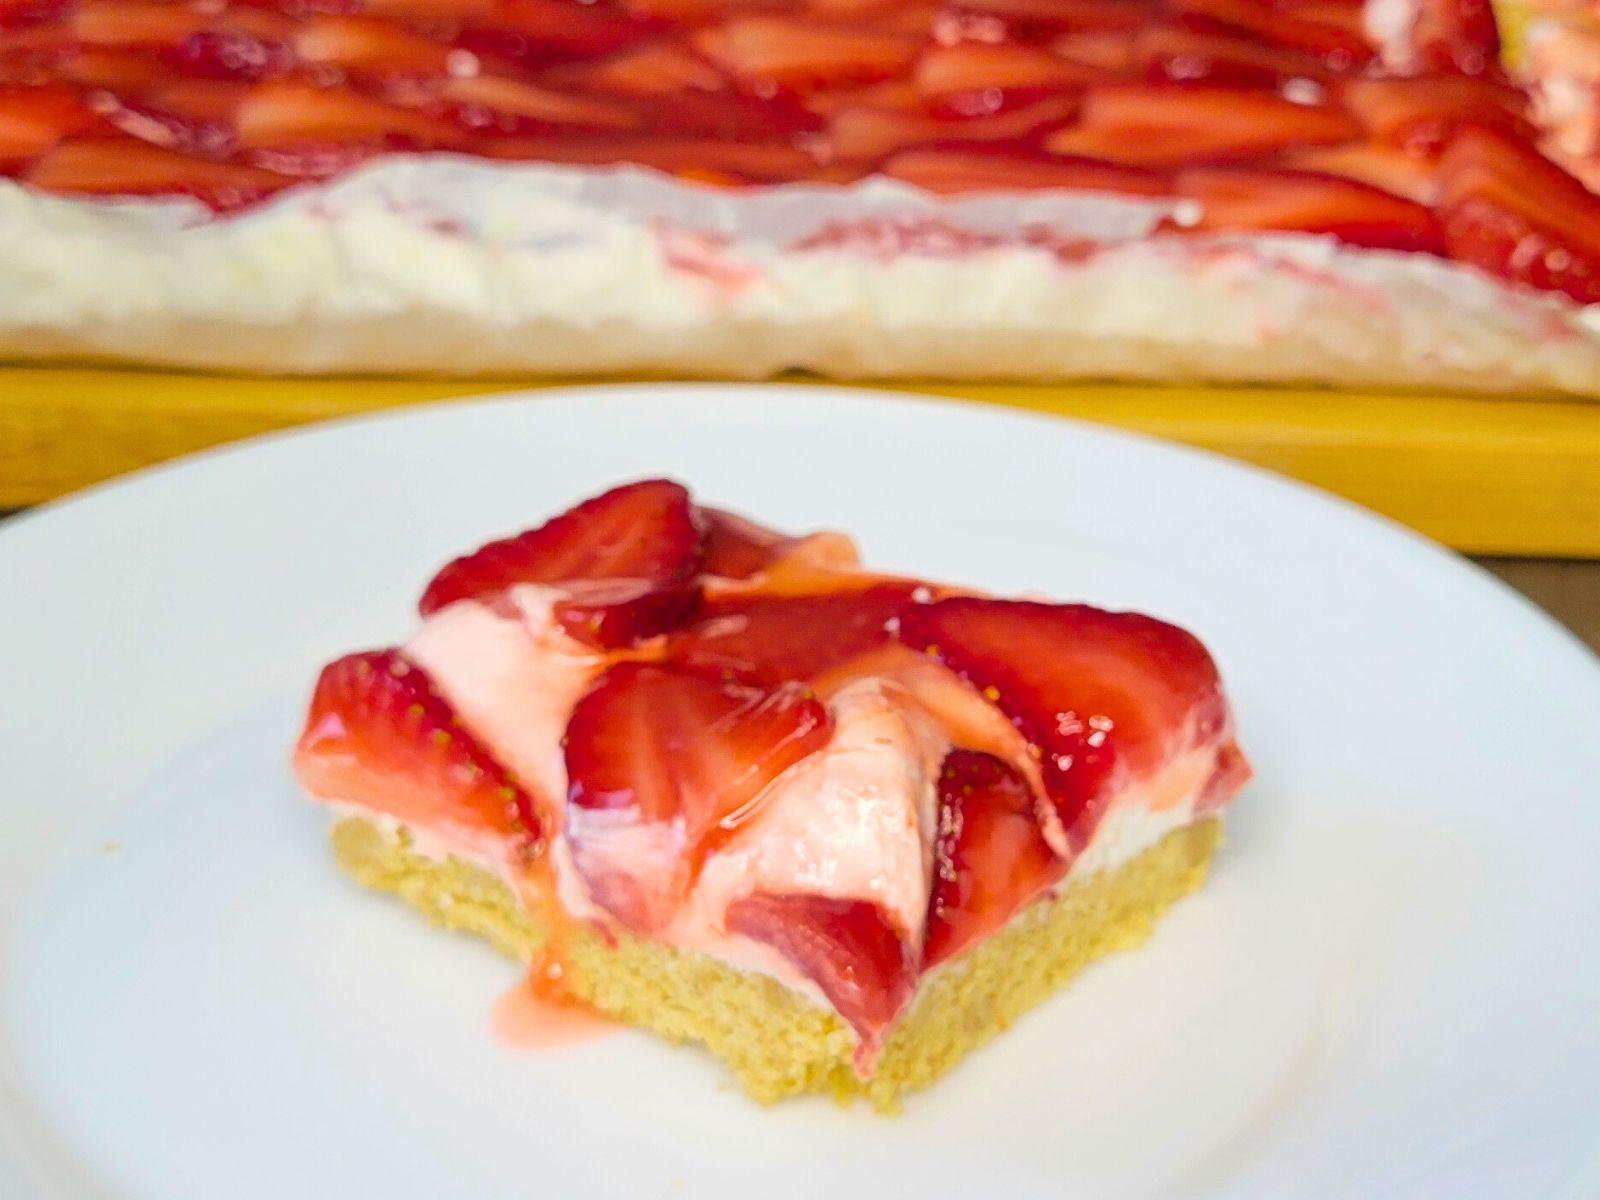
This Fresh Strawberry Refrigerator Cake Made With Fresh Milled Flour is modified from my grandma’s recipe. This no-bake cake is assembled and then put in the refrigerator, this allows the layers to meld together, resulting in the most delicious, yet simple cold dessert there ever was! If you already have your vanilla wafers made, then this recipe comes together so quickly, and no other baking is required.
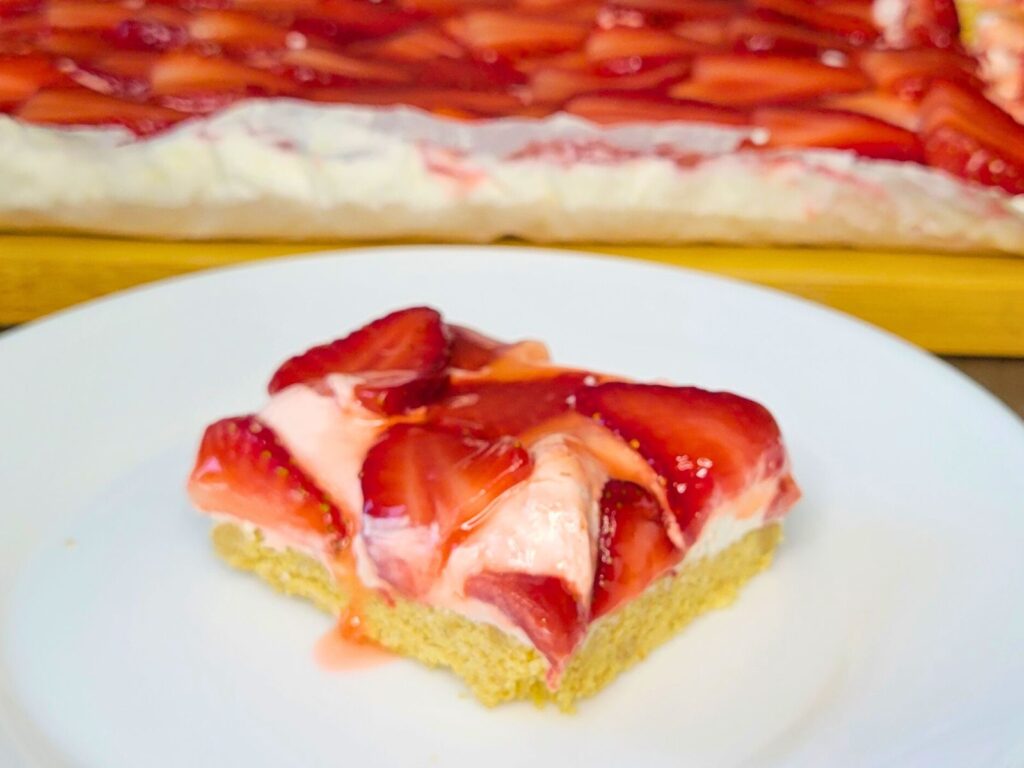
So, as you can see this is not really a cake like you would think a cake is, some would call it a bar, pie, or just layered dessert. But, my grandma called it Strawberry Refrigerator Cake, and that is just what we always called it.
Vintage Recipe Cards
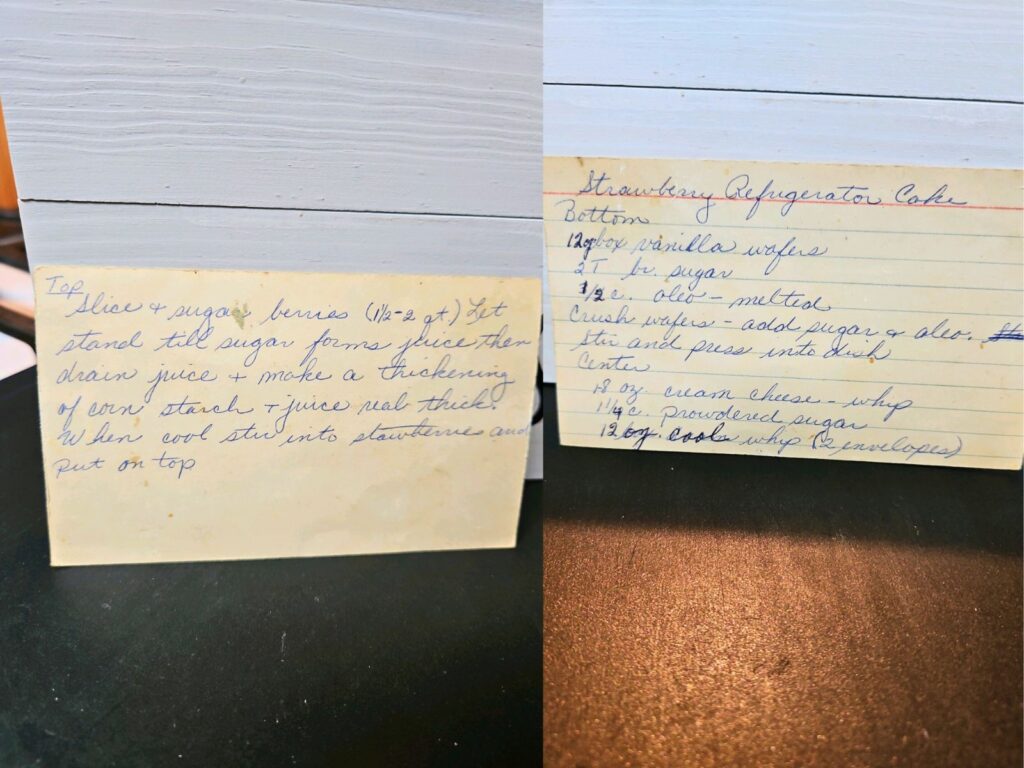
My grandmother was a really special lady. She inspired a lot of other people, and was young at heart, playing, racing, and chasing around grandkids, and great grandkids. Even jumping out of a plane to skydive at the young age of 96 years old. In fact, there is some video proof out there if you are really interested in meeting my grandmother before she passed, bless her soul. HERE is that video. Anyways, I suppose I could write a whole blog all about her, but you are probably just her for the recipe. But, I did want to share her sweet recipe card where this recipe all came about. Is she the original creator of this recipe, I don’t know, but she will always be the original to me!
Picking Fresh Strawberries
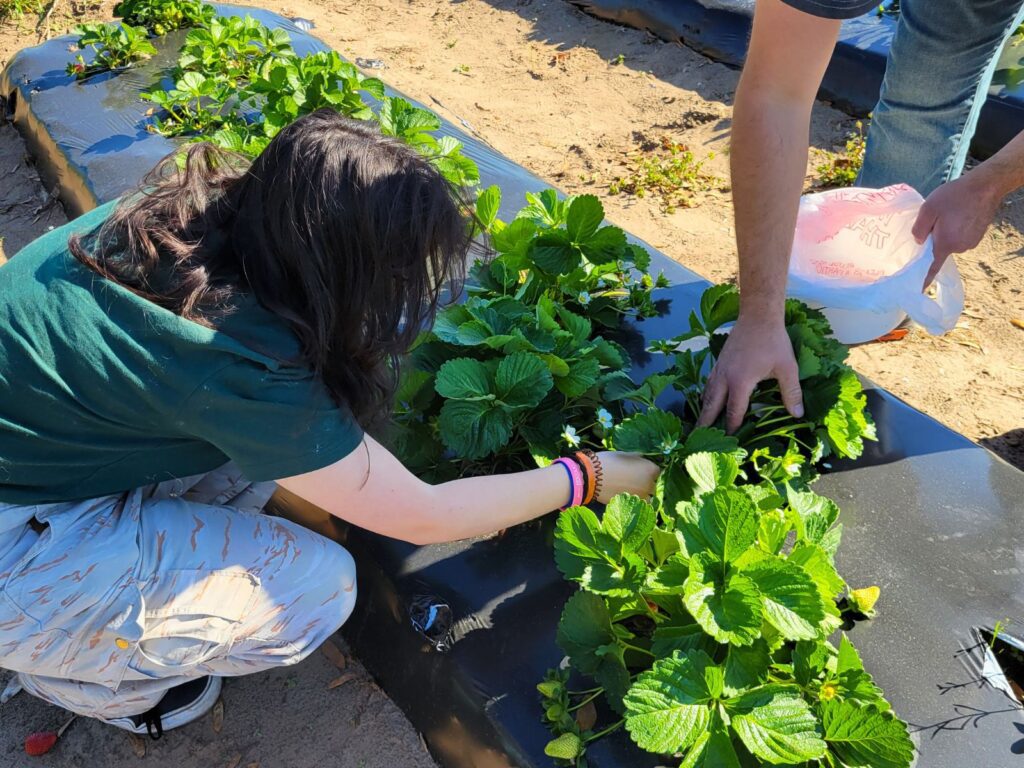
As you may already know if you have been here for awhile, my family travels fulltime in an RV around the US. While we are traveling around we like to checkout the local produce, especially if we can pick it ourselves. This spring we drove through the Charleston, SC area, and just happened to see signs for a U-Pick strawberry patch on our way to our one of our other favorite stops- The Charleston Tea Garden. Well, after we got our tea, we decided to stop, and pick our own fresh strawberries. We got so many! So, I decided what better thing to make, but my grandma’s strawberry refrigerator cake! We even had more after that, and made our favorite chocolate dipped strawberries too, you can find that recipe, HERE.
What Layers Are In A Fresh Milled Flour Strawberry Refrigerator Cake?
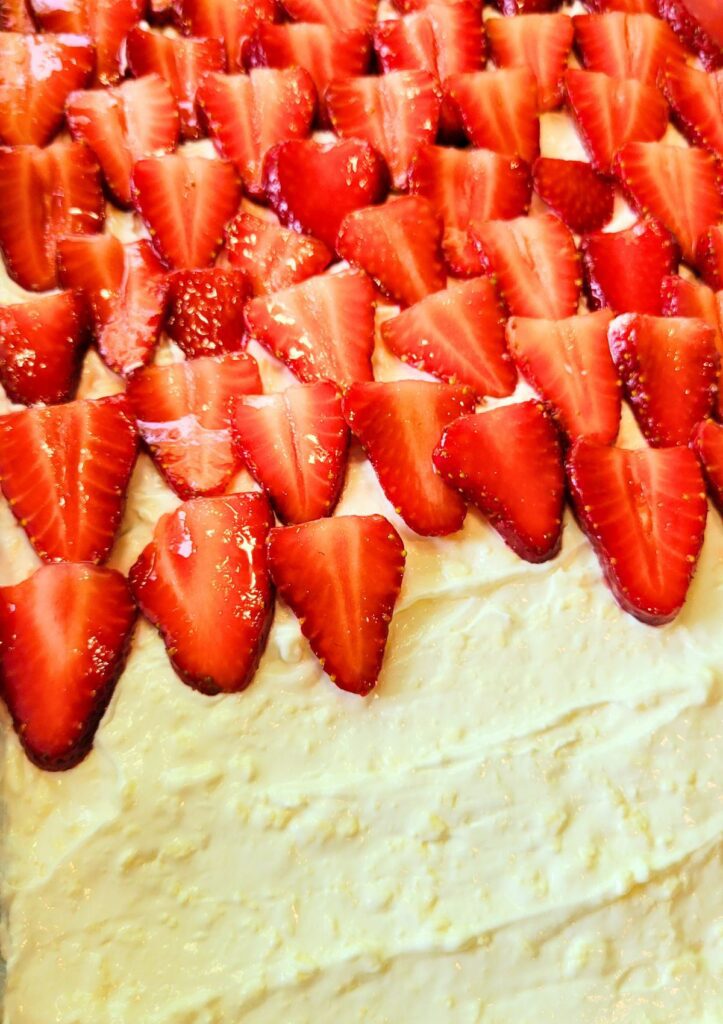
It has basically 3 parts, the crust which she made with Vanilla Wafers, I have a recipe for vanilla wafers HERE. The second part is the cream cheese whipped cream layer. If you want to learn how to make your own cream cheese from scratch, I have a video for that HERE. Then, the last layer is fresh strawberries with a strawberry glaze. Don’t worry, I will help you with each layer every step of the way, and you will see just how easy, and DELICIOUS this cool dessert is!
The Vanilla Wafer Layer
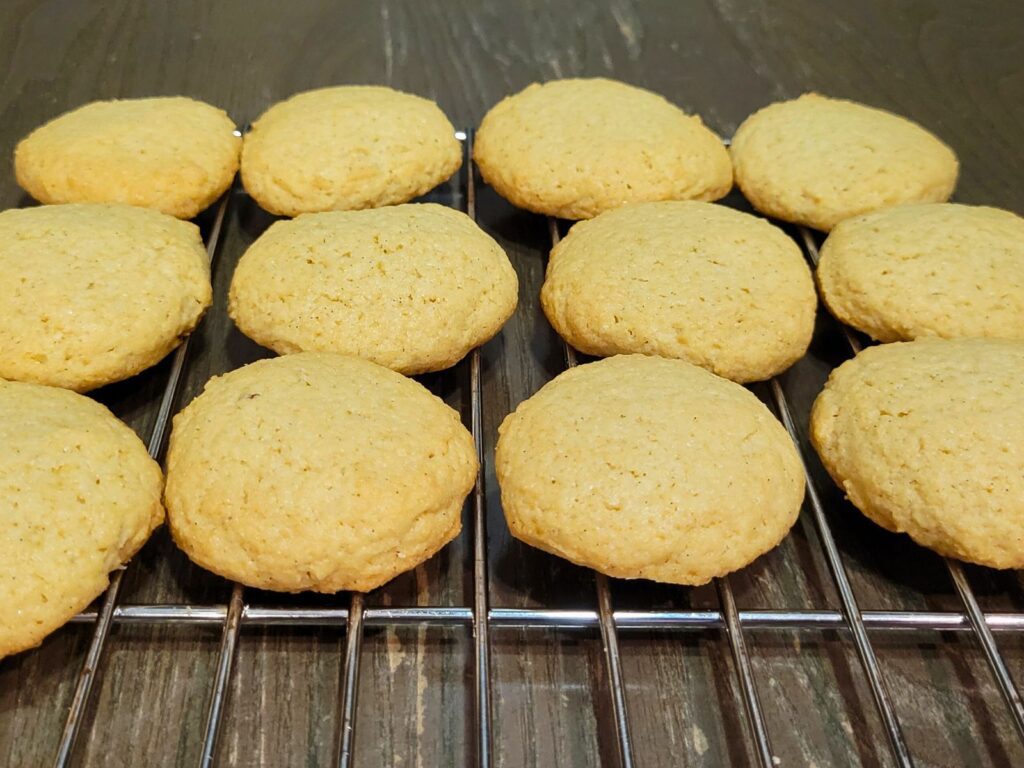
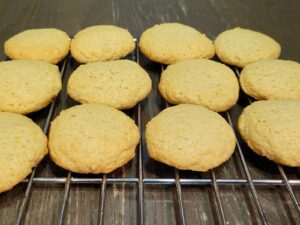
You could of course use store bought Vanilla wafers, that is what my grandma did. Or you could make them. I promise they are super quick to make, and you can make them with fresh milled flour! HERE is that recipe. This recipe is considered a no-bake dessert, but if you are going to make it completely from scratch, you will need to bake the cookies. So, technically after you make the vanilla wafers, then it is a no-bake dessert.
Cream Cheese & Whipped Cream Layer
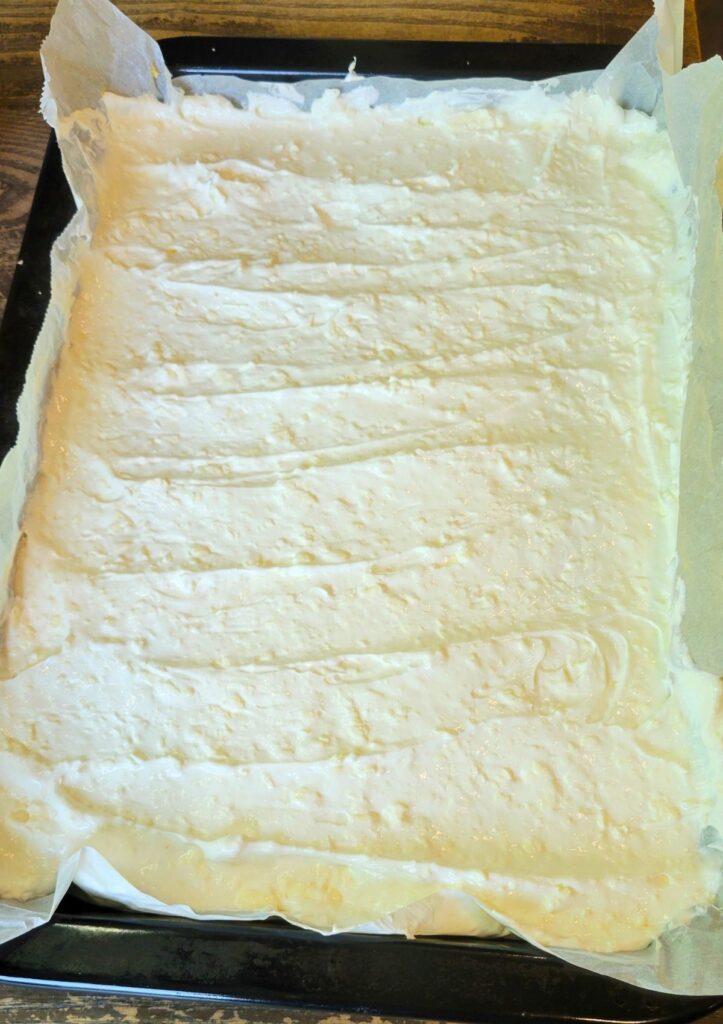
So, I will confess, I did cheat and use store bought cream cheese this day. Because we picked the strawberries on a whim, and I didn’t have any homemade cream cheese made at the time. However, if you have a couple days notice, and you want to make your cream cheese from scratch, and it will be cultured, HERE is that tutorial video. Basically, this layer is cream cheese, whipped cream (which tastes amazing from scratch), and some powdered sugar.
The Strawberry Glaze & Fresh Strawberry Layer
Washing The Strawberries
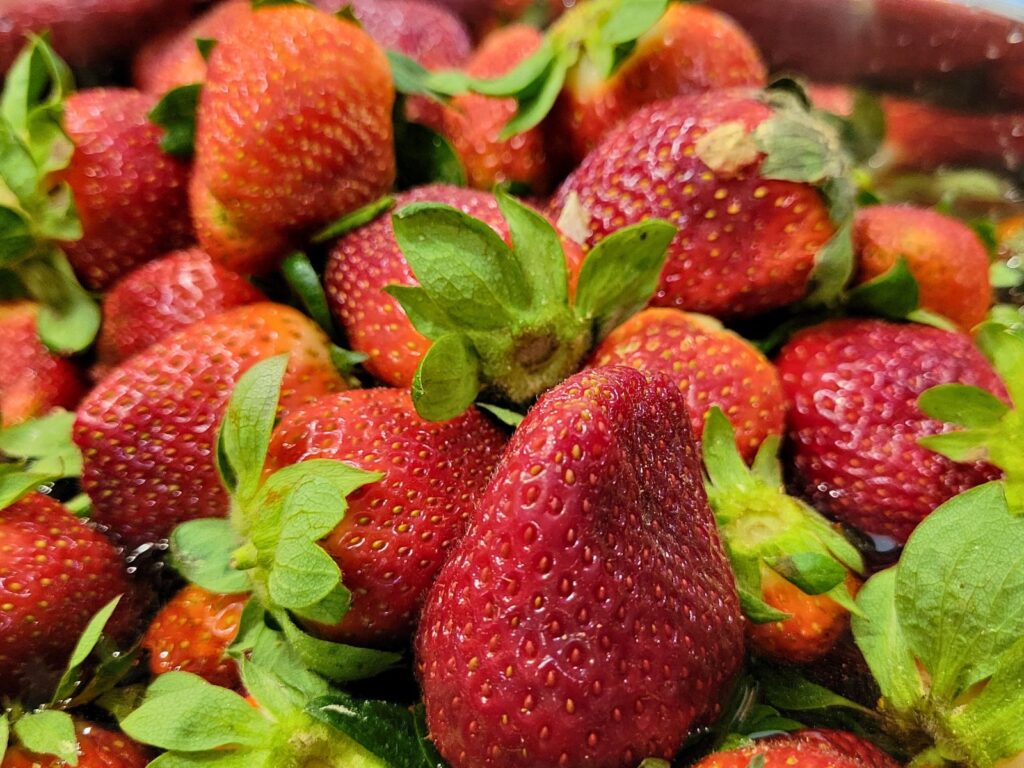
This is the fun layer! So, first we washed the strawberries after bringing them home from the strawberry patch.
Slicing The Strawberries
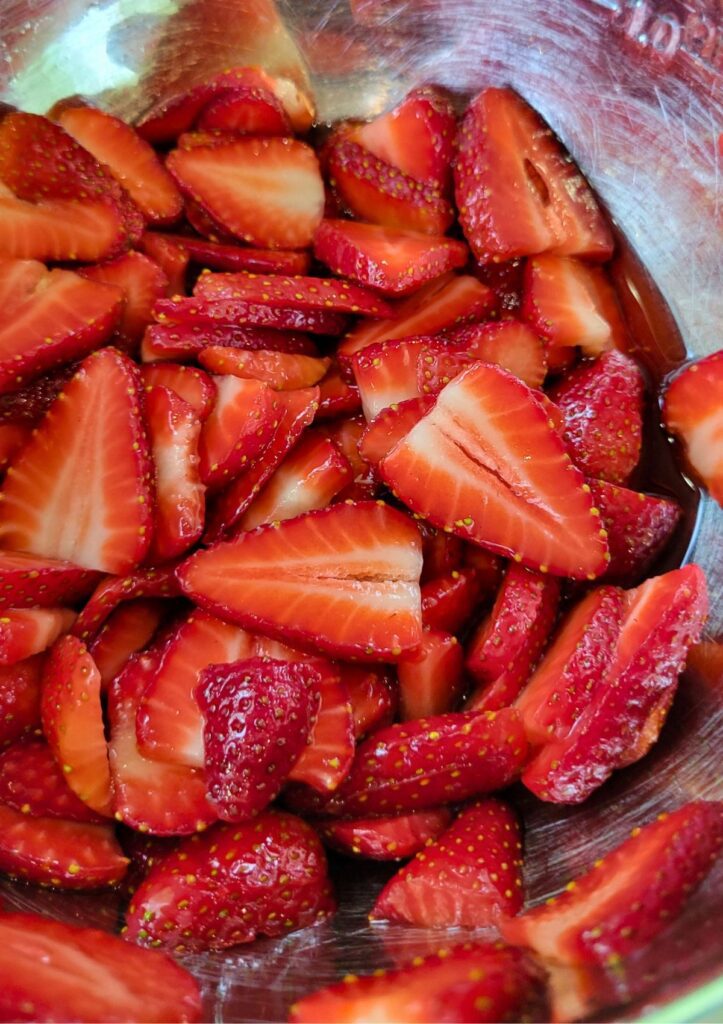
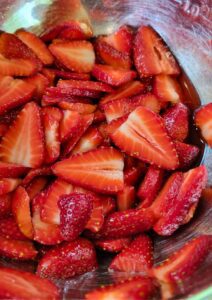
After your strawberries are washed, then it is time to slice them. We sliced and put them in a bowl with some sugar. This sugar will allow the fresh strawberries to release their natural juices. This juice is what you will use to make the strawberry glaze.
Making The Strawberry Glaze
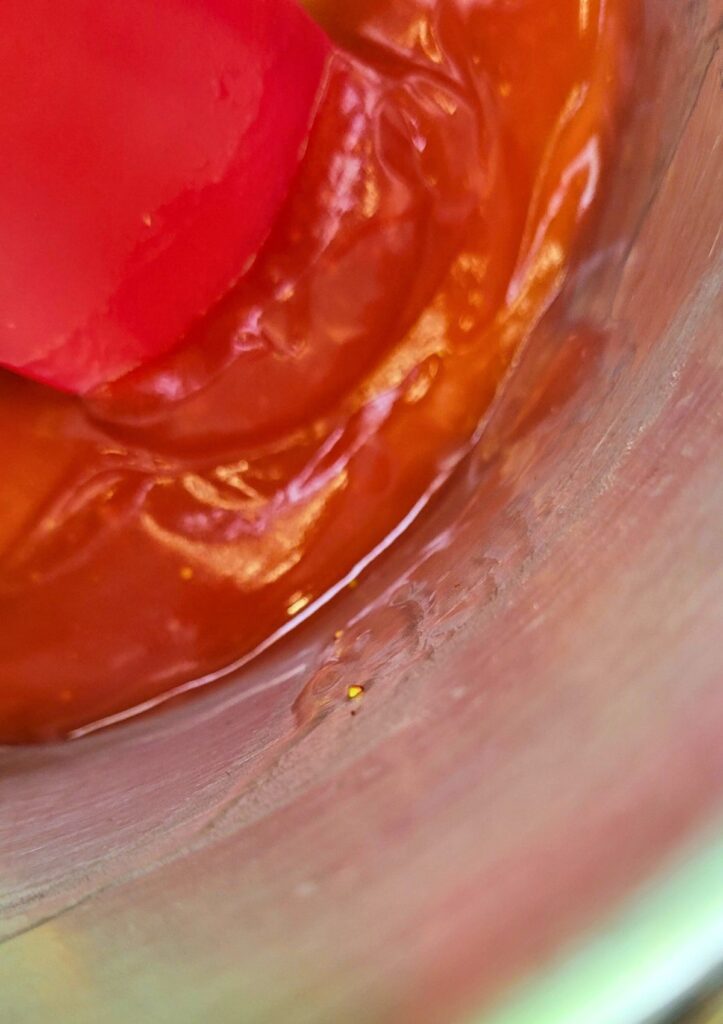
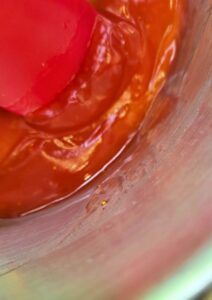
After the strawberries sit in the sugar, they should release quite a bit of juice. This juice is what you will use to make the glaze. In a small sauce pan, pour in the juice and some starch (I used potato starch) to thicken. Cook until thickened.
I know that all seems like a lot of steps, but this recipe is actually pretty simple, and quick.
Ingredients To Make Strawberry Refrigerator Cake
Crust Layer Ingredients
- Vanilla Wafer Recipe 340g (about 2/3 of the recipe) (or 12 oz box of vanilla wafers)
- 2 TBSP brown sugar 26g
- 1/2 cup melted butter 115g (1 stick)
Cream Cheese Layer Ingredients
- 8 oz cream cheese, softened 226g
- 1&1/4 cup powdered sugar 144g
- 12 oz whipped cream 339g (my grandma used cool whip, but homemade whipped cream is delicious in this!)
Strawberry & Glaze Layer
- 1 pound Fresh Strawberries 454g
- 1/4 cup Sugar 50g
- 2 tsp Potato Starch (can sub cornstarch, tapioca starch, arrowroot, etc.)
Instructions To Make Strawberry Refrigerator Cake
Prepare For The Assembly
- Firstly, make sure you have all the ingredients ready to go. If making the cream cheese from scratch, you will want to start that a couple days in advance. If you need to make the vanilla wafers, you can make those first, and while they are cooling you can make the rest of the recipe. Also, if using store bought cream cheese, pull that out to come to room temperature before making. If making homemade whipped cream, prepare that now, and put in fridge for later.
- Wash and dry strawberries, and slice them. Put the strawberry slices into a medium bowl with sugar. Let the strawberries sit for at least 15 minutes. The longer it sits, the more juice will be extracted.
- Once the strawberries have released their juices, pour the juice into a small/medium sauce pan, and add starch, before turning on the heat. Stir to combine, then turn on the heat. Heat on medium heat until thickened, while stirring. This should only take a 4-6 minutes. Once it has thickened, take off the heat, and let cool. It will thicken a bit more as it cools.
Assembling The Strawberry Refrigerator Cake
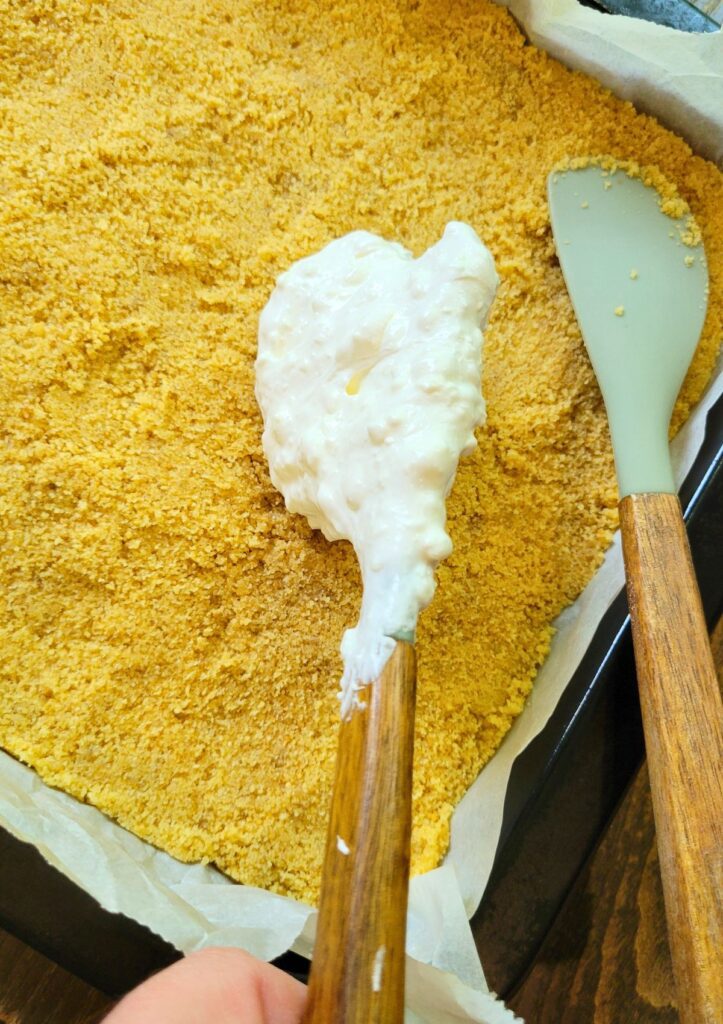
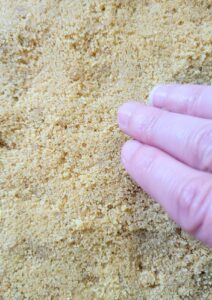
- Now, you can start on the bottom layer. Blend vanilla wafers with brown sugar until crumbs. In a small bowl, mix crumbs and melted butter until combined. Then, press the crumbs into a 9×13 pan.
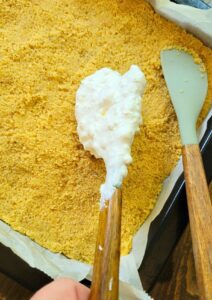
- Then, in a stand mixer, (or you can use a hand mixer) add softened cream cheese, whipped cream, and powdered sugar. Once all these are incorporated, spread that on top of the bottom crust layer.
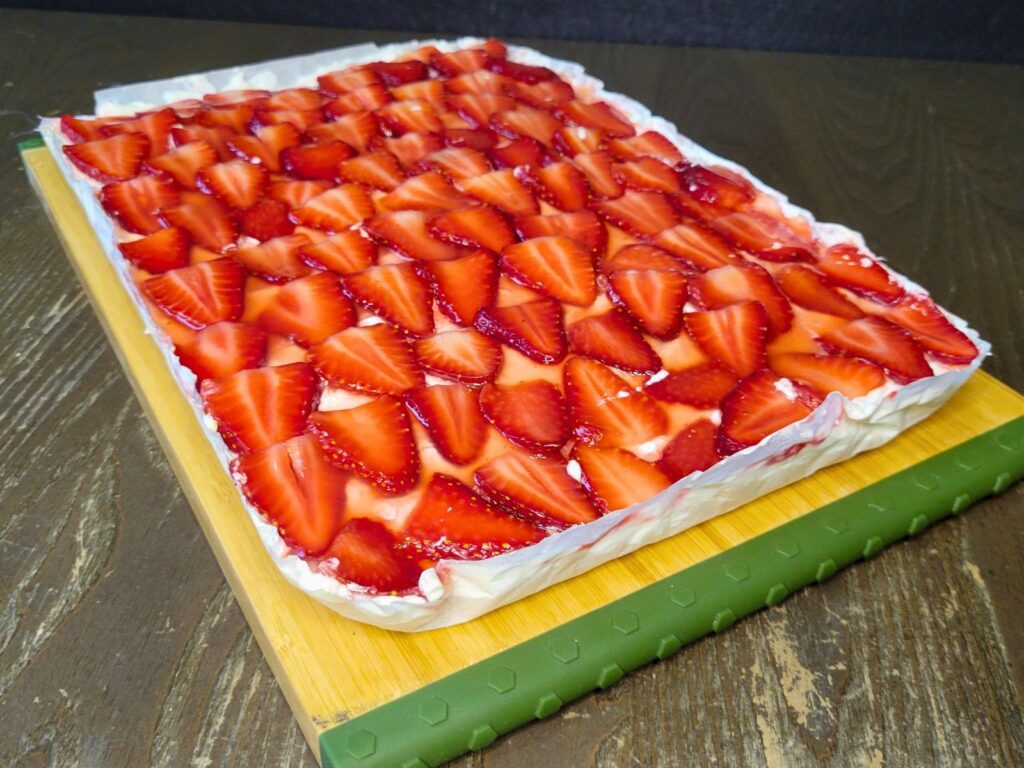
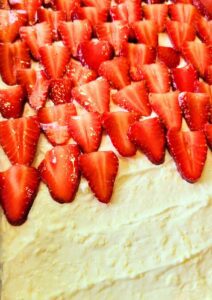
- Place sliced strawberries on top of the cream cheese layer, and after the strawberry glaze has cooled, pour that on top of the strawberries.
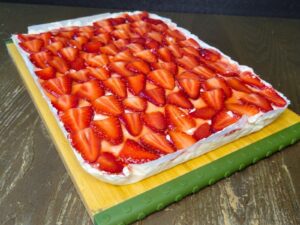
- Place the whole strawberry refrigerator cake into the fridge, and let chill for at least 2 hours. Then slice and serve!
- Enjoy!
How To Store This Strawberry Refrigerator Cake
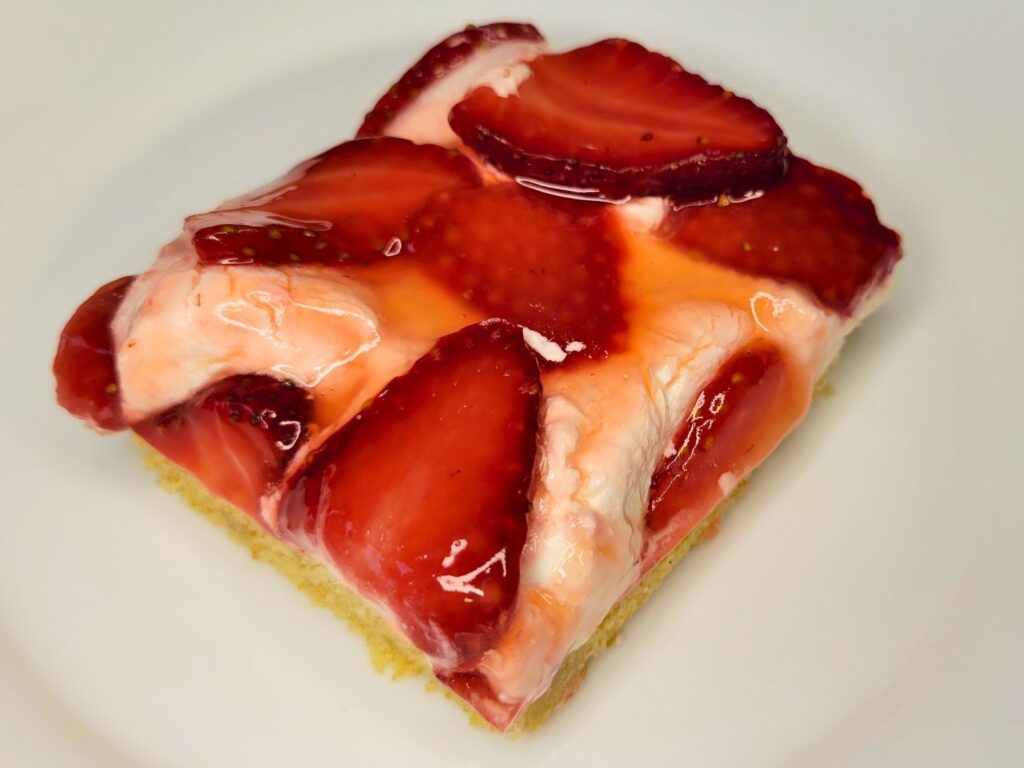
To store this strawberry refrigerator cake, cover and place in the fridge. It will last for 4-6 days covered in the fridge. I don’t recommend freezing this, the texture isn’t quite the same.
Shop This Post
Grain Mill Nutrimill (Use Coupon Code: Grainy for $20 Off yours)
List of Where To Buy Wheat Berries & Coupon Codes
Checkout Some Of My Other Fresh Milled Flour Recipes
Pound Cake – Makes a great Strawberry Shortcake!
Cheesecake – Instant Pot Recipe
Chocolate Covered Strawberries
Fresh Milled Flour Recipe Index
Strawberry Refrigerator Cake Printable Recipe
Strawberry Refrigerator Cake – My Grandmother’s Recipe!
Ingredients
Bottom Layer Crust Ingredients
- Vanilla Wafer Recipe 340g about 2/3 of the recipe (or 12 oz box of vanilla wafers)
- 2 TBSP brown sugar 26g
- 1/2 cup melted butter 115g 1 stick
Cream Cheese Layer Ingredients
- 8 oz cream cheese softened 226g
- 1&1/4 cup powdered sugar 144g
- 12 oz whipped cream 339g my grandma used cool whip, but homemade whipped cream is delicious in this!
Fresh Strawberries & Strawberry Glaze Ingredients
- 1 pound Fresh Strawberries 454g
- 1/4 cup Sugar 50g
- 2 tsp Potato Starch can sub cornstarch, tapioca starch, arrowroot, etc.
Instructions
- Firstly, make sure you have all the ingredients ready to go. If making the cream cheese from scratch, you will want to start that a couple days in advance. If you need to make the vanilla wafers, you can make those first, and while they are cooling you can make the rest of the recipe. Also, if using store bought cream cheese, pull that out to come to room temperature before making. If making homemade whipped cream, prepare that now, and put in fridge for later.
- Wash and dry strawberries, and slice them. Put the strawberry slices into a medium bowl with sugar. Let the strawberries sit for at least 15 minutes. The longer it sits, the more juice will be extracted.
- Once the strawberries have released their juices, pour the juice into a small/medium sauce pan, and add starch, before turning on the heat. Stir to combine, then turn on the heat. Heat on medium heat until thickened, while stirring. This should only take a 4-6 minutes. Once it has thickened, take off the heat, and let cool. It will thicken a bit more as it cools.
- Now, you can start on the bottom layer. Blend vanilla wafers with brown sugar until crumbs. In a small bowl, mix crumbs and melted butter until combined. Then, press the crumbs into a 9×13 pan.
- Then, in a stand mixer, (or you can use a hand mixer) add softened cream cheese, whipped cream, and powdered sugar. Once all these are incorporated, spread that on top of the bottom crust layer.
- Place sliced strawberries on top of the cream cheese layer, and after the strawberry glaze has cooled, pour that on top of the strawberries.
- Place the whole strawberry refrigerator cake into the fridge, and let chill for at least 2 hours. Then slice and serve!
- Enjoy!
Notes
*This post contains affiliate links, which means I make a small commission at no extra cost to you! Also, as an Amazon Associate I earn from qualifying purchases. But, I will only suggest items I actually Recommend!



I love your beautiful story about your grandma! I can’t wait for try this recipe. The strawberries are starting g to ripen here in the pacific northwest. My own strawberry patch is laden with green berries but you can be sure that when they do ripen I’ll be making this recipe and thinking about your story.
Thank you so much! She was a very special person! We love this dessert, let me know what you think when you give it a try!
Could I use thawed frozen strawberries for this? I feel like it would work.
I have not tried that, but it would probably work. Let me know how it goes! 🙂