Brown Bread – Fresh Milled Flour – Cheesecake Factory Copy Cat
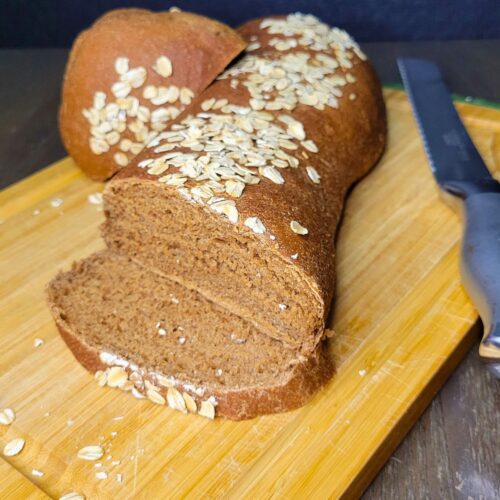
This Brown Bread made with fresh milled flour is totally a Cheesecake Factory inspired loaf recipe. This free formed Brown Bread is a deliciously balanced copycat recipe, and is packed with flavor. Get ready to enjoy every bite!
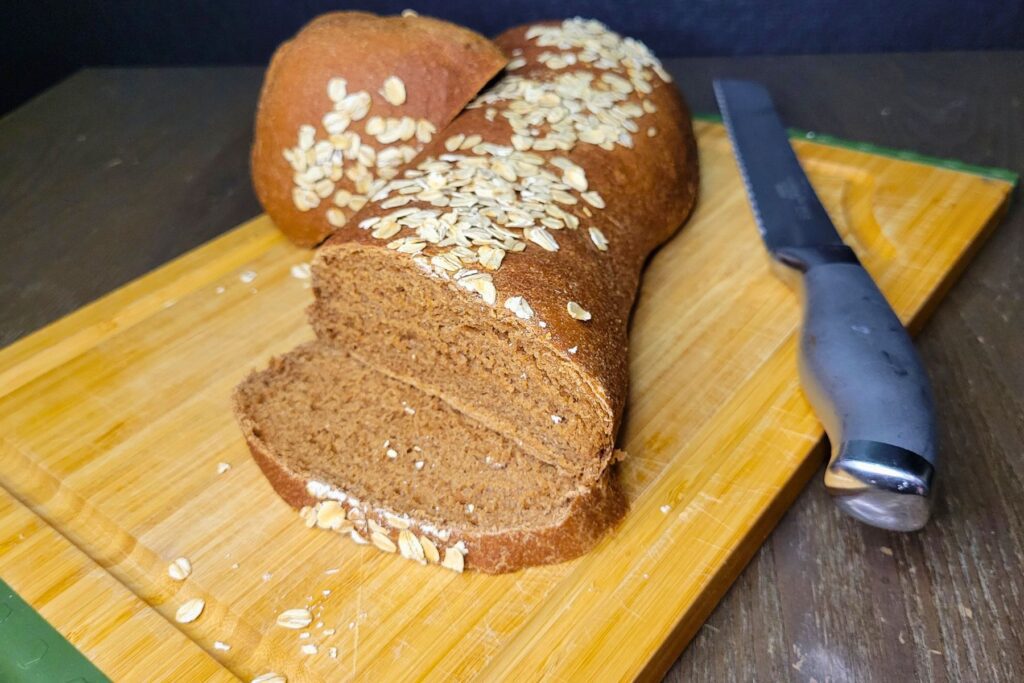
I played with this recipe for awhile getting it just right. I had to find that balance of sweet and coco, but not over powering either. This brown bread pairs well with many things, however, my absolute favorite way to enjoy it is sliced just a bit warm, and slathered with some fresh salted butter!
This bread makes amazing croutons, find that quick & easy recipe HERE. Also, you can see a sneak peak of them in my Garlic & Cheese Pull Apart Video HERE.
What To Serve With Brown Bread Made With Fresh Milled Flour
This copy cat bread has such a wonderful flavor, and goes well with a variety of dishes. Here are some ideas for what to serve with it:
- Cheese Platter: Serve slices of brown bread with a selection of cheeses such as cheddar, brie, or gouda. Add some fruits like apples or grapes and nuts for a well-rounded cheese platter.
- Salads: Pair brown bread with a fresh salad for a light and healthy meal. It can complement salads made with ingredients like roasted vegetables, grilled chicken, or mixed greens.
- Dips and Spreads: Serve brown bread with a variety of dips and spreads such as hummus, tzatziki, or spinach and artichoke dip. These options add flavor and variety to your bread.
- Eggs: Brown bread can be served alongside eggs in various forms, such as scrambled, poached, or as an accompaniment to a frittata or quiche.
- Sandwiches: Use the brown bread to make sandwiches with your favorite fillings such as roast beef, turkey, or grilled vegetables. The sturdy texture of the bread holds up well to fillings and adds an extra layer of flavor.
- Soup and Salad Combo: For a more substantial meal, serve a bowl of soup with a side salad and slices of brown bread. This combination offers a variety of flavors and textures.
- Fruit Preserves: Spread brown bread with butter and your favorite fruit preserves or jam for a sweet treat that complements the nutty flavor of the bread.
So, feel free to get creative and experiment with different combinations to find what you enjoy most!
How To Richen The Flavor Even More!
So, this recipe is pretty spot on with the Cheesecake Factory brown bread recipe, but made with fresh milled flour. However, if you like a really deep flavor, then you can enrich this bread with coffee, tea, or even espresso powder for an extra boost. Just replace some or all of the water with a cooled down version of those.
Ingredients To Make Fresh Milled Flour Brown Bread
- 5&1/3 cups Fresh Milled Flour 630g (I used 500g of hard white wheat, and 130g of Kamut)
- 2 TBSP brown sugar or Sucanat 26g
- 1/8 cup molasses 34g
- 1/4 cup honey 84g (can sub for sugar 50g)
- 2 TBSP cocoa powder 16g
- 1/4 cup softened butter 57g (1/2 a stick)
- 1&1/2 tsp salt 8g
- 1&3/4 cup water 415g (May need slightly more or less depending on the stiffness of your dough.)
- 1/2 cup rolled oats 40g
- 2 tsp instant yeast
Instructions To Make Brown Bread With Fresh Milled Flour
Mixing & Kneading The Dough
- Firstly, Mill The Flour, you want to make sure you choose a hard wheat variety for most of the flour. That will allow gluten development for a nice stretchy dough. I chose mostly hard white wheat and a little Kamut (Khorasan wheat)
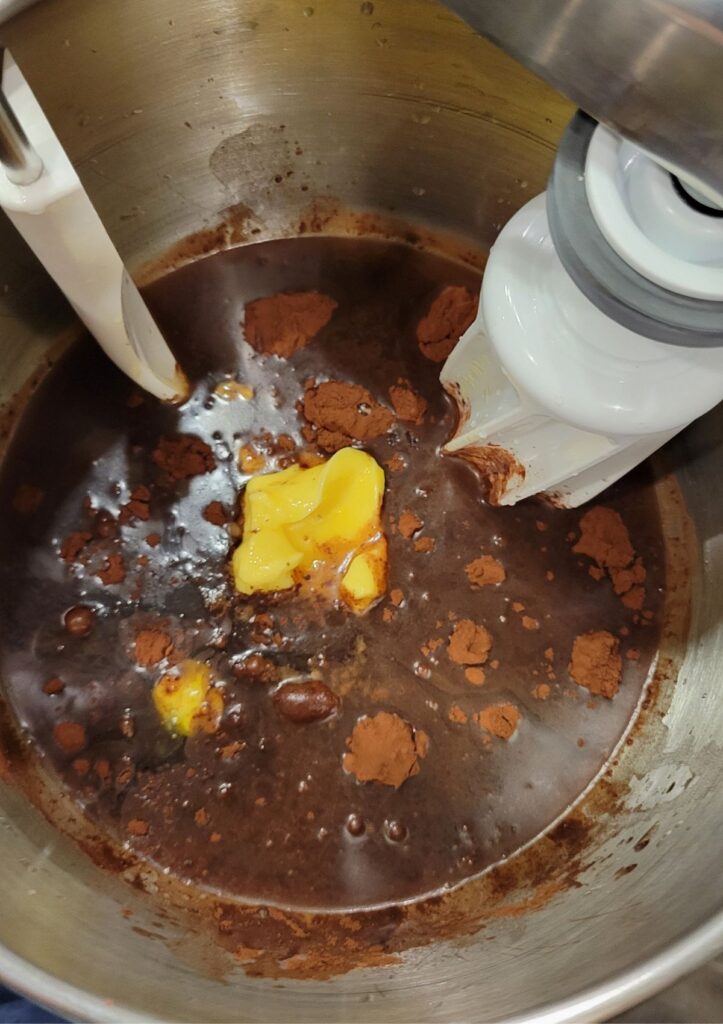
- In a stand mixer, add water, brown sugar, molasses, honey, cocoa powder, softened butter, and salt. Then, mix to combine.
- Then, add the fresh milled flour, and mix to combine, making sure there is no dry flour left. It should be a bit wet at this point.
- Cover and let sit for 15 minutes. Because this allows the freshly milled flour to start absorbing the liquid, and the bran to start to soften. (If you decide to use active dry yeast rather than instant yeast, this is where you need to activate your yeast with a portion of the water and honey from the recipe. It should get nice and foamy during this rest period.)
- After this rest period, then add the yeast. Start mixing in the yeast until combined.
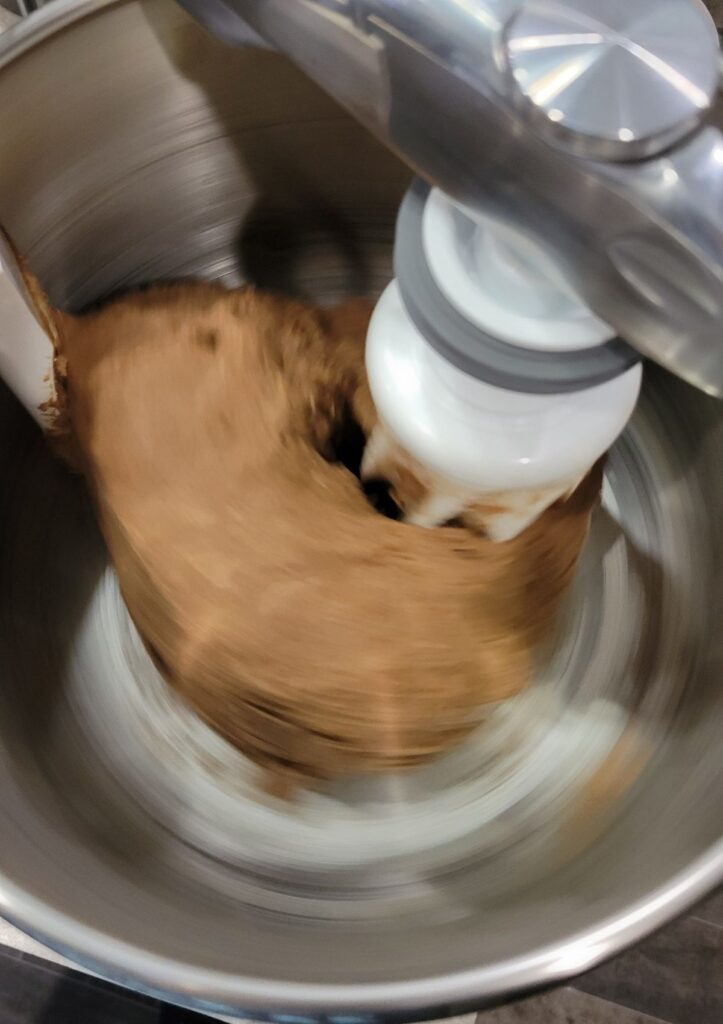
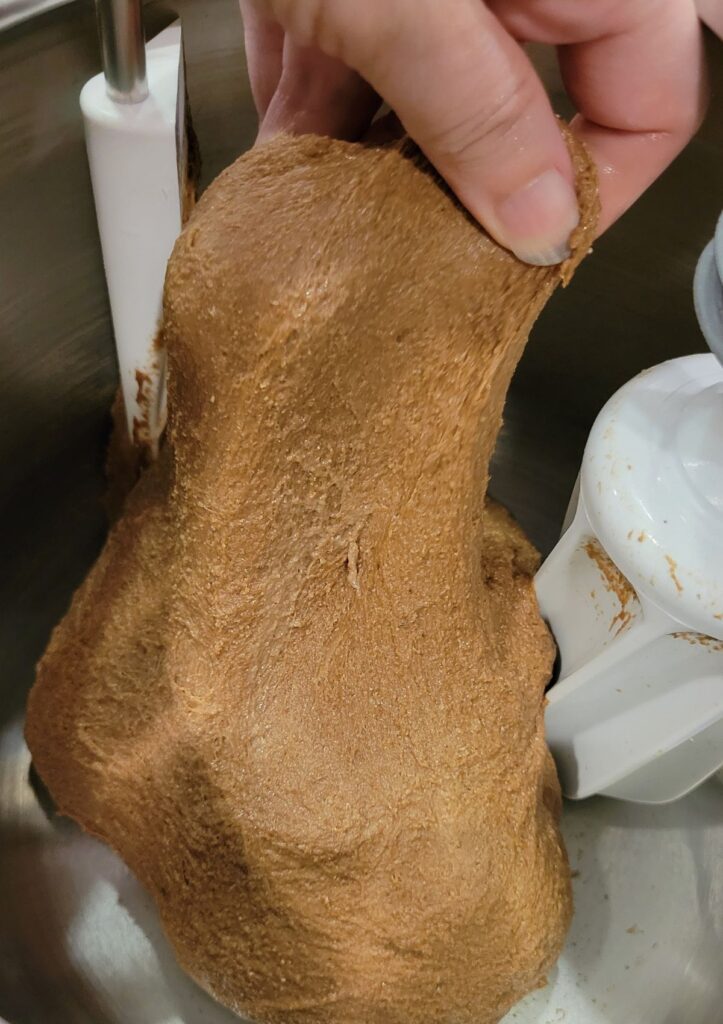
- Knead the dough in the stand mixer until it becomes nice and stretchy. (The kneading times will vary based on your mixer, and the strength of your wheat. So, this could take anywhere from 6-25 minutes.) Make sure the dough is not too dry, you don’t want it to be in a tight ball, if it seems too dry, add a splash of water.
- Once the dough is nice and stretchy, then it is time to let the dough do it’s first rise. Oil the dough ball, and bowl. Then, cover.
- Allow the dough to rise until almost double. This can take anywhere from 1 to 2 hours, depending on the warmth in your home.
Shaping & Baking The Loafs
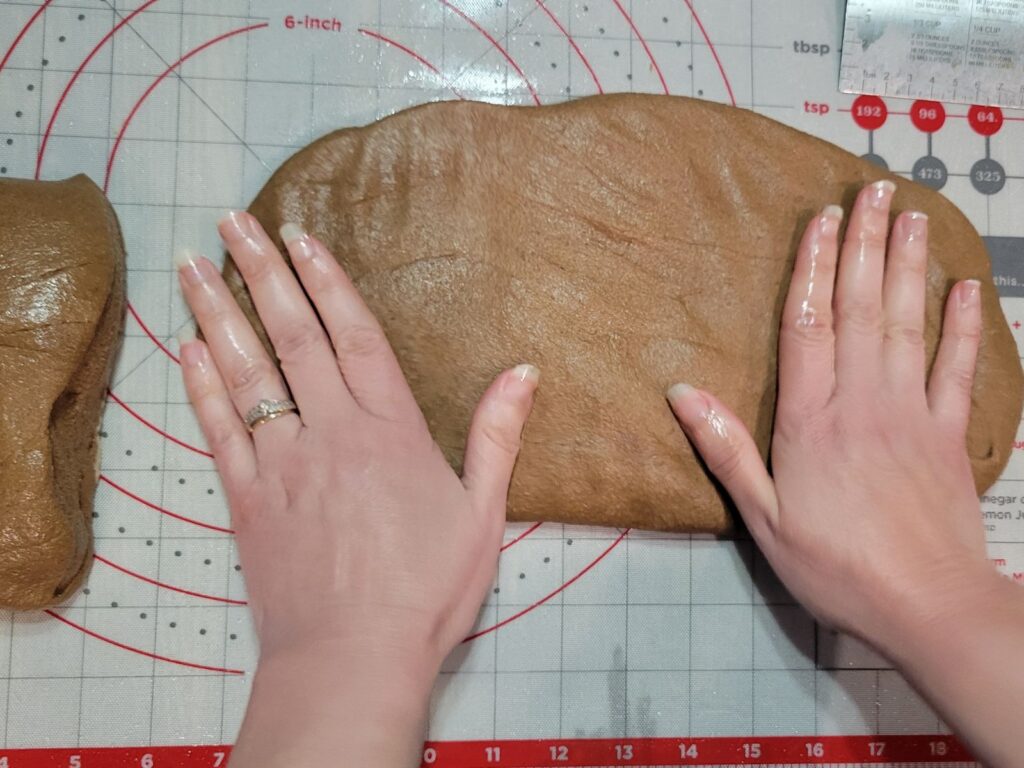
- After the dough has risen, remove it to a clean work surface. I like to lightly oil my worksurface and hands, because this helps keep things from sticking, and prevents too much flour getting added to the dough.
- Divide the dough in half with your bench scraper. Flatten one piece of dough into a rectangle pressing most the air bubbles out.
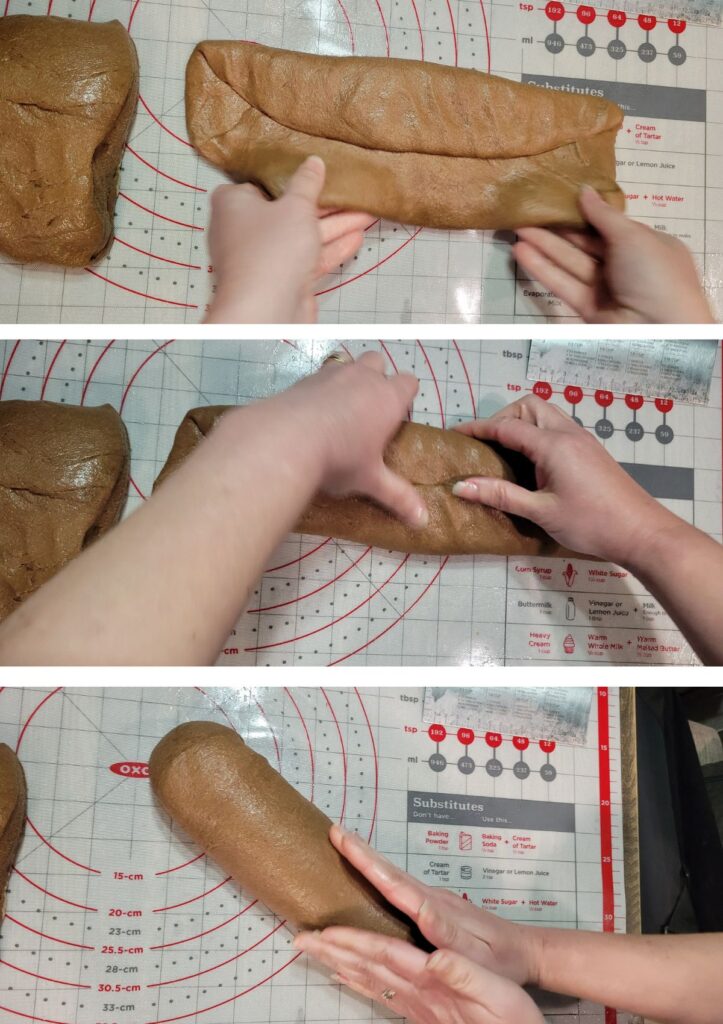
- Then, fold one third of the dough from the long side towards the middle. Then, fold the other side towards the middle to meet the first side. Now, fold the dough in half longwise pressing both the folded sides together.
- Use your hands, and cup under the loaf to make sure there is surface tension on the loaf. The loaf should end up being about 10-12 inches long.
- Repeat this with the other piece of dough also.
- Prepare your baking sheet with parchment paper, and place each loaf on the pan.
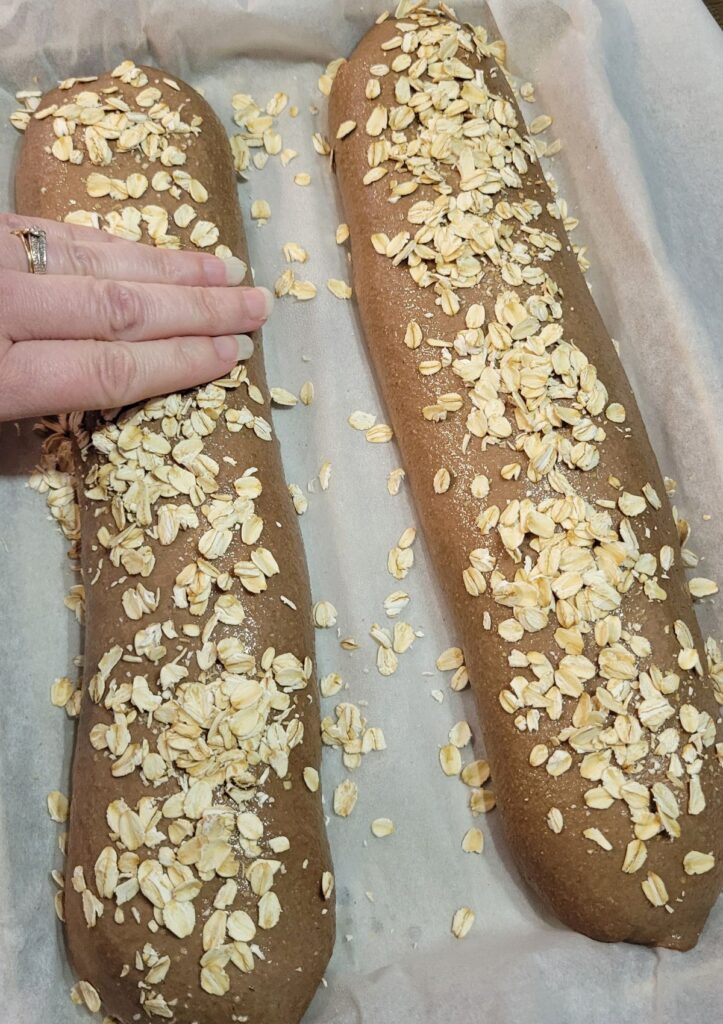
- Then, lightly wet the tops of the loafs, and sprinkle with rolled oats. Lightly press the oats onto the top of the loaf, so they stick just a bit better.
- Spray the loafs with a bit of oil, and then cover with some cling film for their second rise.
- Let the loafs rise until almost double. This may take anywhere from 45-90 minutes, depending on the warmth in your house.
- Towards the end of the rise, preheat your oven to 350*F.
- Bake the loafs for 25-35 minutes until the internal temperature of the center of each loaf reaches 190*F.
- Remove loaf to a wire rack to cool. Let cool for at least 20 minutes before you slice into the loaf. These loafs are best enjoyed the same day and warm! However, I will put directions below on how to store as well.
How To Store Fresh Milled Flour Brown Bread
So, to store this fresh milled flour brown bread for short term use, just wrap in cling film and leave on counter for 3-4 days. For longer storage, place in a freezer safe container or bag in the freezer for 4-6 months. Just let the bread thaw to room temperature before eating. Lastly, enjoy!
Shop This Post
Grain Mill Nutrimill (Use Coupon Code: Grainy for $20 Off yours)
Hard White Wheat (Small Amount)
Kamut (Small Amount)
Buy Bulk Grains At Azure Standard
Checkout Some Of My Other Recipes
Garlic Cheddar Biscuits (Red Lobster Inspired)
Cheese Crackers (Cheez-It Inspired)
Fresh Milled Flour Recipe Index
Brown Bread Made With Fresh Milled Flour Printable Recipe
Brown Bread Made With Fresh Milled Flour (Cheesecake Factory Copycat Recipe)
Ingredients
- 5&1/3 cup Fresh Milled Flour 630g I used 500g of hard white wheat, and 130g of Kamut
- 2 TBSP brown sugar or Sucanat 26g
- 1/8 cup molasses 34g
- 1/4 cup honey 84g can sub for sugar 50g
- 2 TBSP cocoa powder 16g
- 1/4 cup softened butter 57g 1/2 a stick
- 1&1/2 tsp salt 8g
- 1&3/4 cup water 415g May need slightly more or less depending on the stiffness of your dough.
- 1/2 cup rolled oats 40g save for topping the loaf
- 2 tsp instant yeast
Instructions
- Firstly, Mill The Flour, you want to make sure you choose a hard wheat variety for most of the flour. That will allow gluten development for a nice stretchy dough. I chose mostly hard white wheat and a little Kamut (Khorasan wheat)
- In a stand mixer, add water, brown sugar, molasses, honey, cocoa powder, softened butter, and salt. Then, mix to combine.
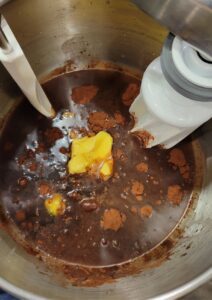
- Then, add the fresh milled flour, and mix to combine, making sure there is no dry flour left. It should be a bit wet at this point.
- Cover and let sit for 15 minutes. Because this allows the freshly milled flour to start absorbing the liquid, and the bran to start to soften. (If you decide to use active dry yeast rather than instant yeast, this is where you need to activate your yeast with a portion of the water and honey from the recipe. It should get nice and foamy during this rest period.)
- After this rest period, then add the yeast. Start mixing in the yeast until combined.
- Knead the dough in the stand mixer until it becomes nice and stretchy. (The kneading times will vary based on your mixer, and the strength of your wheat. So, this could take anywhere from 6-25 minutes.) Make sure the dough is not too dry, you don’t want it to be in a tight ball, if it seems too dry, add a splash of water.
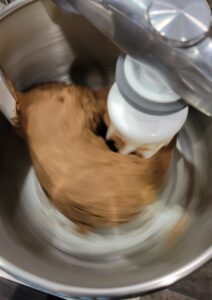
- Once the dough is nice and stretchy, then it is time to let the dough do it’s first rise. Oil the dough ball, and bowl. Then, cover.
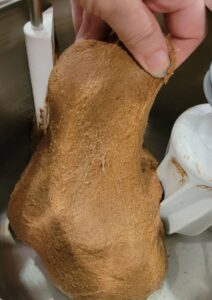
- Allow the dough to rise until almost double. This can take anywhere from 1 to 2 hours, depending on the warmth in your home.
- After the dough has risen, remove it to a clean work surface. I like to lightly oil my worksurface and hands, because this helps keep things from sticking, and prevents too much flour getting added to the dough.
- Divide the dough in half with your bench scraper. Flatten one piece of dough into a rectangle pressing most the air bubbles out.
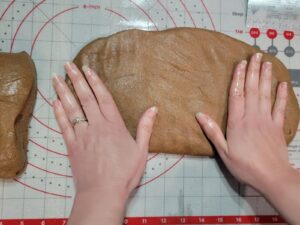
- Then, fold one third of the dough from the long side towards the middle. Then, fold the other side towards the middle to meet the first side. Now, fold the dough in half longwise pressing both the folded sides together.
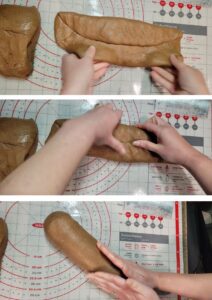
- Use your hands, and cup under the loaf to make sure there is surface tension on the loaf. The loaf should end up being about 10-12 inches long.
- Repeat this with the other piece of dough also.
- Prepare your baking sheet with parchment paper, and place each loaf on the pan.
- Then, lightly wet the tops of the loafs, and sprinkle with rolled oats. Lightly press the oats onto the top of the loaf, so they stick just a bit better.
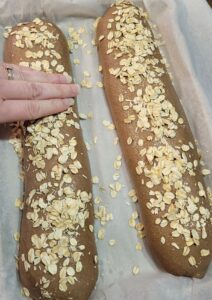
- Spray the loafs with a bit of oil, and then cover with some cling film for their second rise.
- Let the loafs rise until almost double. This may take anywhere from 45-90 minutes, depending on the warmth in your house.
- Towards the end of the rise, preheat your oven to 350*F.
- Bake the loafs for 25-35 minutes until the internal temperature of the center of each loaf reaches 190*F.
- Remove loaf to a wire rack to cool. Let cool for at least 20 minutes before you slice into the loaf. These loafs are best enjoyed the same day and warm! However, I will put directions below on how to store as well.
Notes
*This post contains affiliate links, which means I make a small commission at no extra cost to you! As an Amazon Associate I earn from qualifying purchases. But, I will only suggest items I actually Love and Have Used!




Will this recipe work in a bread machine to mix the dough?
Yes, you can use a bread machine for the mixing/kneading portion. (In some bread makers, it may have to knead for 2 cycles, just check for a bit of stretchiness.) Let me know what you think! Happy Baking!
How “wet” should it be? mine seems too wet
This bread is a little bit dryer than my typical recipes, because it is a freeform dough. I don’t have a video on this dough, but I have a seeded baguette dough that is similar in texture if interested so you can visually see it. https://youtu.be/J84R0LHfF_M?si=NubXp1IaiGrzWmjS
I made this today and it’s delicious! My hubby and I both love it.
Awesome! I am so happy to hear that!
WHERE CAN I PURCHASE THE FLOUR??
I mill the flour at home with my grain mill and wheat berries. Here is a link where you can find the mills and grains. Also, any coupon codes I have at the time. https://grainsinsmallplaces.net/shop-grains-in-small-places/
Could you use sourdough starter instead of the instant yeast?
Yes, you can omit the yeast, and use about 115g sourdough starter (1/2cup ish) Then, let rise for 3-6 hours just before doubled, and shape, then let rise until nice and puffy (2-4 hours) and bake. Make sure the internal temperature of the center of the loaf reaches 205*F for sourdough breads. Let me know how it goes, Happy Baking! 🙂
I made this with sourdough starter and it turned out amazing! I also scaled it to make a sandwich loaf (I did 400g flour and scaled other ingredients down a tad) and it was perfect! My family loved it for sandwiches and toast. Thanks!
That is awesome to hear! Sounds delicious! Thanks for sharing. 🙂
I’ve made this twice now and both times my family has gobbled them up! We love the flavor and texture. My husband likes to make sandwiches with it. It is absolutely delicious and it turns out great every time. 😊
Awesome! So happy to hear that! We love it too! Thanks so much! Happy Baking! 🙂
Just made this bread today. I did not have honey so I substituted with more brown sugar. This is the best bread I ever made, turned out perfectly. The whole family loves it. The first loaf is already gone.
Awesome! I am so happy to hear that! Nice job! Thanks so much! 🙂
So good! Can this be made in a loaf pan?
Yes, you can just check the internal temp of the center of the loaf to 200*F.
Hello- Could I shape the bread into rolls?
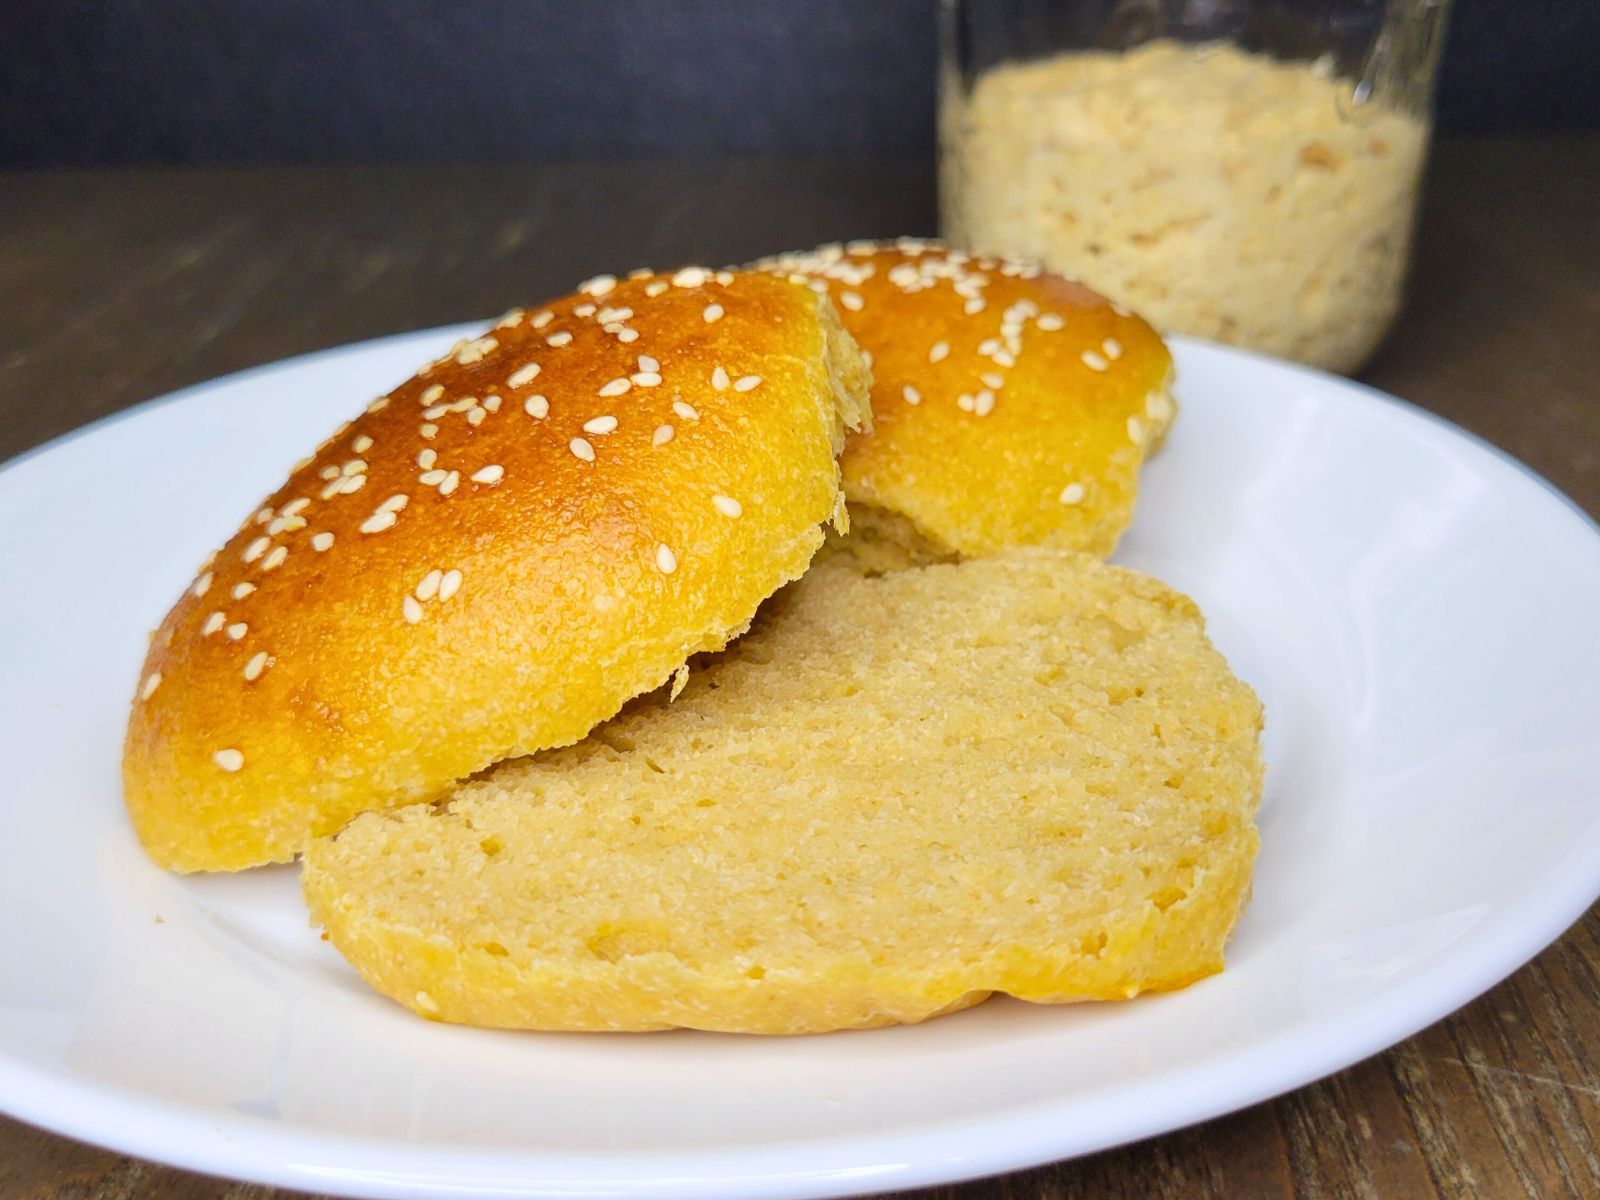
Yes, you can make these into rolls, the baking time may be slightly less around 20 minutes or so. check the center of one of the center rolls, and make sure it is at 190*F before pulling them out of the oven. We love these as rolls! 🙂
Hi! My mother in law asked me to bring some sort of bread for Christmas Day this year! I want to do this recipe; is there any way I can prep it the day before, then bake and serve on Christmas? Or would it be better to just make on Christmas Eve? Thanks! This looks so good and I can’t wait to try it.
So sorry, I just now am getting to these comments. I hope it all worked out. In the future, you can make them up to shaping, and cover to put in the fridge before the second rise. Then, the next day, put them on the counter to come to room temp (1-2 hours) Then bake as directed for fresh warm loves to enjoy! YUM! 🙂
I made one long loaf and the rest rolls. Turned out perfect and delicious. I just love your recipes and videos. Thinking about trying it in a loaf pan tomorrow.
Awesome! I am so happy to hear that! Thanks! 🙂
Amazing – tastes just like the “original”! Made it today for our Sunday family gathering, and everyone agreed it’s great. Followed the recipe as written.
Yay! glad to hear it was a hit! Thanks! 🙂
After reading the reply’s for this bread, I thought this may be a keeper……IT IS!!!!
I can taste the molasses and loving this as a snack! Husband loves it too!!!
Yay! So glad to hear to hear that! Thanks! 🙂
Thank you for your amazing recipes. My family loved this bread. Would you suggest using the Tangzhong method with these? I am making bread for my father-in-law’s funeral. I am using the Tangzhong method for your sweet rolls because I will be baking prior to traveling and wondered if I can do the same with this recipe as well. If so, how much of the dough would you suggest making into the paste? Thanks Kara!
You could use the Tangzhong method with these as well. I would use about 50g of the flour from the recipe, and 200g of the water to make the paste. Subtract those amounts from the recipe amounts.
Perfect, thanks again!
My pleasure! 🙂