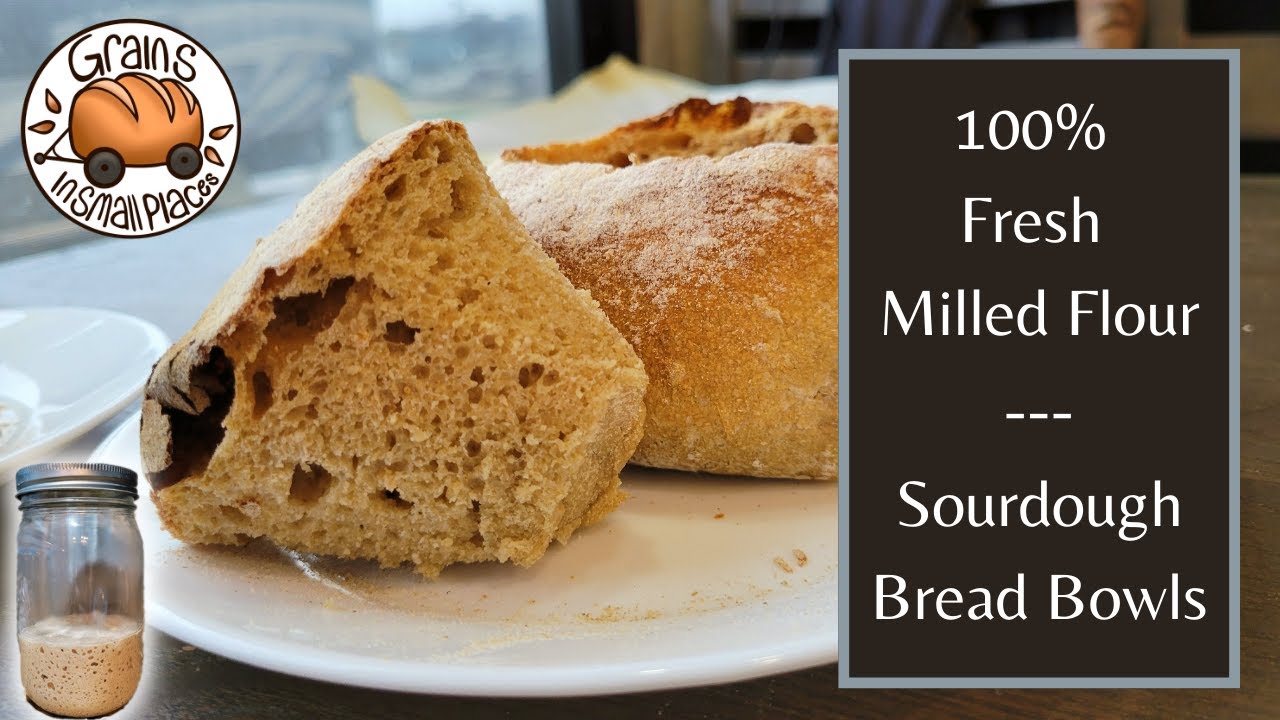
The Best Sourdough Bread Bowls – The Perfect Serving Vessel
These are the BEST Sourdough Bread Bowls! And, they make the PERFECT serving vessel! I filled these amazing bowls with a Potato Broccoli Cheese Soup that paired perfectly, especially on a cold and rainy day like today. If you are interested in that soup recipe HERE it is.

Is Sourdough Easy?
Now, I’m not going to lie, sourdough can be intimidating! And, the people who have perfected the art of sourdough can often times forget where they started from. Also, disclaimer, I know my sourdough is not up to 100% perfection, however, my family loves it, and I am always working to tweak the recipe to make it just right for us!
So, if you find yourself in a group that is very critical for learning sourdough, well you are now in the right place! No criticism from me, I remember how I began. I had all the problems, and sometime still do, but that is what helps us learn and develop our skills. And, we want to learn these skills so, that eventually we can get to a point where we don’t need a recipe, we just know the dough! We know how it is supposed to feel and look, we know the way it stretches and moves. It becomes an artform. And, once you bake your first delicious loaf, it will be hard to turn away from baking more of it.

My Sourdough Starter’s name is “Bubbles”
I sometimes have a love hate relationship with my sourdough starter. What I mean by that is, that I get my sourdough starter, “Bubbles,” out of the refrigerator, I will feed him so strong, and I will make all the things sourdough! Sometimes, I even prefer to use my sourdough starter just for the discard recipes. Because, if you haven’t had sourdough pancakes, waffles, or cupcakes. Then, I am sorry to say, you are missing out! So, if you make a sourdough starter for the sole purpose of discard recipes, that is OK! But, after awhile, I get tired of feeding “Bubbles” daily (sometimes twice a day when he is hungry, lol.) And, I will resort to feeding him, then putting him back in the fridge. I call this his Vacation time, lol. I will feed him once a week, and slowly drift away form sourdough recipes. But then, something in me ALWAYS yearns to go back. I get drawn back in by “Bubbles,” like he calls to me. Hey, Kara… It’s been awhile, I’m hungry, let’s bake something. So, to be clear, I never actually Hate “Bubbles,” we just need time apart sometimes.

The Inspiration For Sourdough Bread Bowls
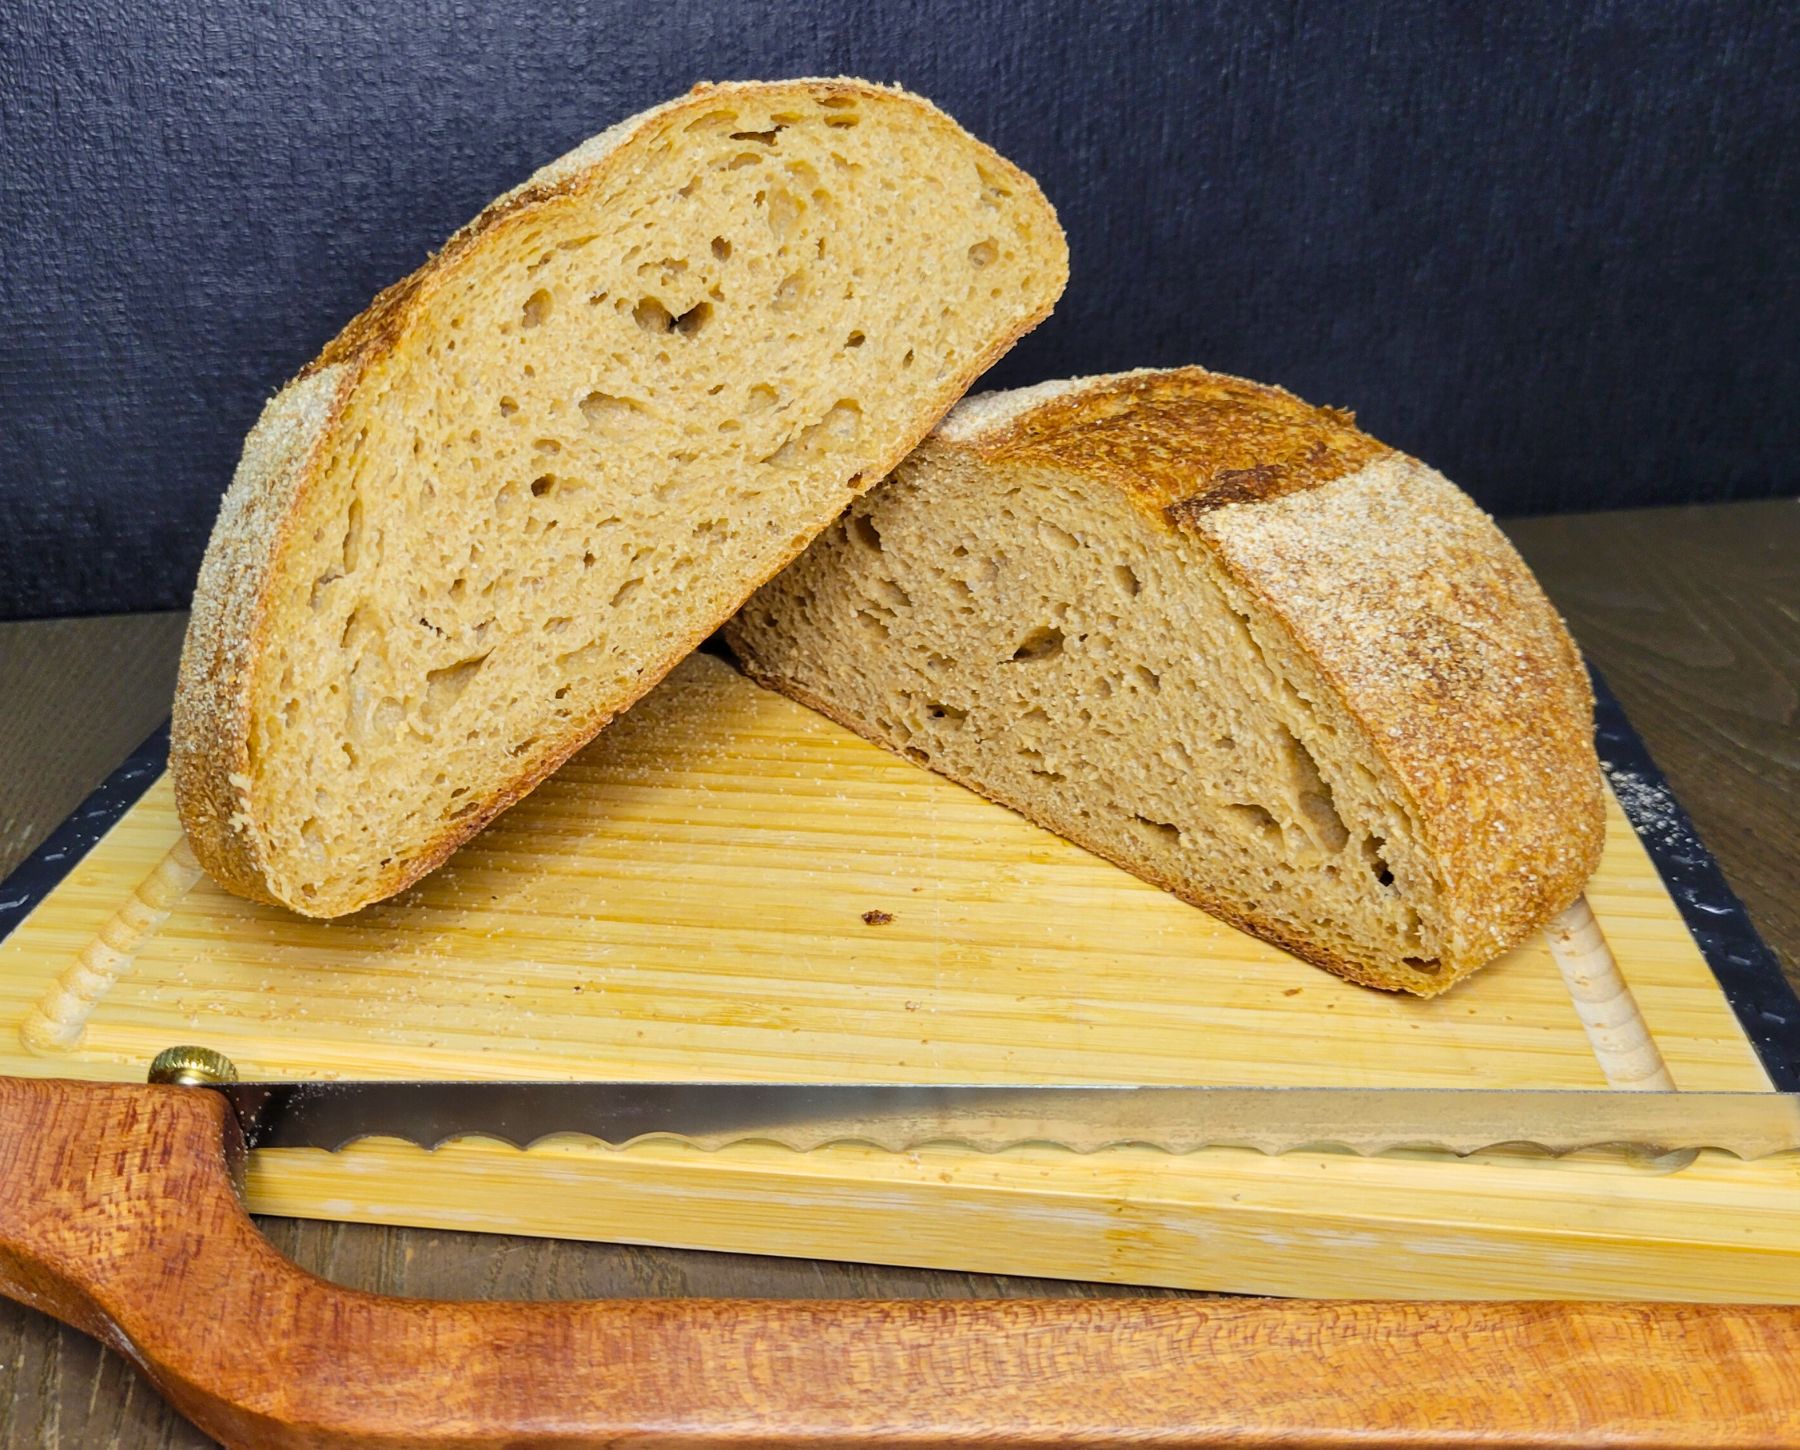
So, this week, I felt that calling again. I really wanted to work on a sourdough loaf, but I wanted something a bit different. So, I decided to make bread bowls. I don’t know why I was so afraid to make them. They were actually easier than my regular sourdough loaf, and it basically uses the same recipe. They turned out better than I could have every imagined. And, the good news is, that I wrote it all down, so I could share my recipe and process with you!
How Transition Your Regular Flour Sourdough Over To Fresh Milled Whole Wheat Flour?
Transitioning your Sourdough Starter over to Fresh Milled Whole Wheat Flour is actually a simpler process than it may seem. It just takes a bit of time. I have a post that goes over how to transition your regular white flour over to fresh milled flour. HERE is that post.
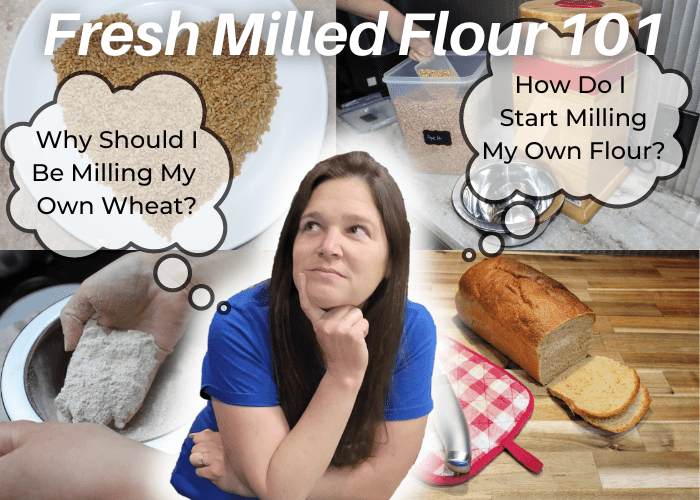
How Do You Start Milling Your Own Flour?
There is so much information out there about switching to fresh milled flour at home that it can d=be daunting and overwhelming. I made this post to help ease the information, and you can find that post HERE. I also have a video coming soon with all the info. Checkout my YouTube Channel HERE to watch out for that.
Do You Need A Scale To Make Sourdough Bread?
It is highly suggested to use a kitchen scale for more accurate results. You can grab one fairly inexpensively, and it will save you many of loaves of bread tossed in the trash. Because, measuring flour by volume, especially for sourdough, is less accurate it can mess up the science behind how sourdough works. So, is it REQUIRED, no I suppose not. But, to get nice results it is highly recommended to have a scale that weighs in grams. HERE is the scale I use, and it works great!

Make Your Own Sourdough Starter From Scratch With Fresh Milled Flour
If you don’t already have a sourdough starter, but are wanting to make one with 100% fresh milled flour from scratch, I am here for you! I have a video resource that goes over how you can make your very own sourdough starter using only freshly milled flour. I also go over troubleshooting issues to help make this process a little easier for you, and I make a brand new sourdough starter right along side you! You can watch that video HERE.
I also have a written blog post that covers this information, if you would like to print it out and have it handy for when you are just getting started. You can do this, it is not as difficult as some on the internet have made it seem! You can checkout my blog post about it HERE.

Ingredients For Sourdough Bread Bowls
- 1 TBSP Sourdough Starter 15-20g (Active, healthy, and bubbly)
- 550 g of Fresh Milled Hard White Wheat Flour – Divided (I mill by weight, but it should be about 3 cups of wheat berries milled into about 4&2/3 cups of total milled flour)
- 10 g sea salt (1&3/4tsp)
- 475 g room temperature filtered water – Divided (about 2 cups)
- Dusting of rice flour
Instructions For Making These Sourdough Bread Bowls
I will try to explain this process in the best way possible. It may sound intimidating, but the process is not really as difficult as it may sound. I will put the volume and weight, but I HIGHLY suggest you use a scale and make this by weight! This recipe makes 4 Bread Bowls.
Make the Leaven the Night Before
- To make the leaven the night before, you use 1 TBSP (15-20g) of a hungry starter and mix it with 50g water(1/4cup) and 50g fresh milled hard white wheat flour (1/2cup). Mix to combine, and let sit covered at room temperature overnight.
The Next Morning
- Firstly, pour 400g of room temperature filtered water into a medium bowl.
- Then, add the leaven you made the night before. (the leaven should appear to lightly float if it is ready) Stir.
- Next, add 500 g of fresh milled hard white wheat flour, mix until no dry flour is left. Cover and let sit for 30- 45 minutes. This is called the Autolyse.
- In a separate small bowl, add 25g room temperature filtered water(1/8cup) and 10g of sea salt(1&3/4 tsp), stir to start dissolving the salt.
- Then, after it had a chance to absorb the water, now add the salt & water mixture. and mix it in with your hands. You should see that the dough already is softer and not so shaggy. Cover, and let sit for 30-60 minutes. This is the beginning of the Bulk Ferment.
- Pull & fold dough in the bowl, turning the bowl a few times, Then cover.
- Repeat this Pull & Fold technique every 30-60 minutes until the dough rises about 20-30%. It should get bubbly, and stretchy over time. This phase should take about 4-6 hours.

Shaping The Loafs
- Then, take it to a clean flat work surface, cut the dough into 4 equal size pieces.
- Pull and fold each dough piece, and start to shape the loafs. Use the cup & turn technique to form a round shape. Let the dough balls rest for 10-20 minutes. This is called the Bench Rest.
- Repeat shaping 1-2 more times, until each ball forms good surface tension. You should notice the dough ball “remembers” better each time you shape it.
- During this time, preheat oven to 480*F with a small oven safe bowl of water. So it will make a steam oven
- Coat each dough ball with a little rice flour and score the loaf with a little plus sign.
- Line a baking sheet with parchment paper, place each loaf on the lined baking sheet.
- Bake bread bowls for 15 minutes at the 480*F
- Then, decrease oven to 425*F and continue baking 20-25 more minutes. Check the temperature of the loaves, and bake until the internal temperature of each loaf reaches. 210*F
- Let the loaves cool completely before slicing into them.
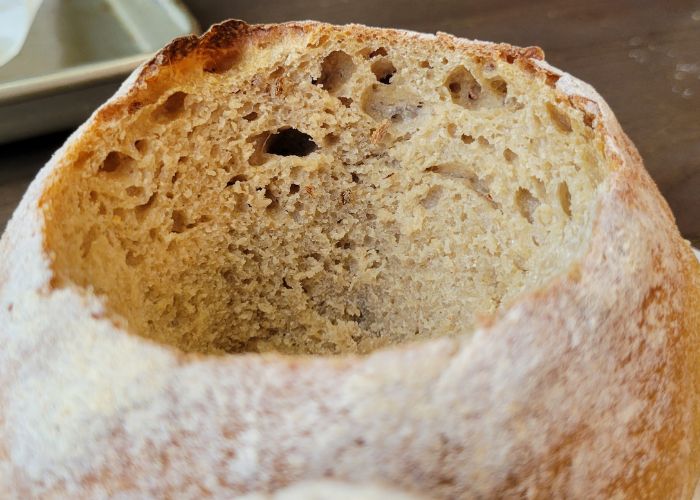
- Once cooled, carve a circle on the top of each loaf to form a vessel for your soup or whatever you want to fill them with.
- I have a great soup recipe that pairs perfectly with these bread bowls.

Look how delicious this soup pairs with these sourdough bread bowls! HERE is that soup recipe if you are interested in trying it.
Checkout Some Of My Other Recipes
Potato Broccoli Cheese Soup Recipe
The Greatest Sourdough Chocolate Chip Cookies
Shop This Post
Sourdough Bread Bowl Video
Sourdough Bread Bowl Printable Recipe

Sourdough Bread Bowls
Ingredients
- 1 TBSP Sourdough Starter (15-20g) Active, healthy, and bubbly
- 550g Fresh Milled Hard White Wheat Flour – Divided I mill by weight, but it should be about 3 cups of wheat berries milled into about 4&2/3 cups of total milled flour
- 10g sea salt 1&3/4tsp
- 475g room temperature filtered water – Divided about 2 cups
- Dusting of rice flour
Instructions
I will try to explain this process in the best way possible. It may sound intimidating, but the process is not really as difficult as it may sound. I will put the volume and weight, but I HIGHLY suggest you use a scale and make this by weight! This recipe makes 4 Bread Bowls.
Night Before Make The Leaven
- To make the leaven the night before, you use 1 TBSP of a hungry starter and mix it with 50g water(1/4cup) and 50g fresh milled hard white wheat flour (1/2cup). Mix to combine, and let sit covered at room temperature overnight.
The Next Morning
- Firstly, pour 400g of room temperature filtered water into a medium bowl.
- Then, add the leaven you made the night before. (the leaven should appear to lightly float if it is ready) Stir.
- Next, add 500 g of fresh milled hard white wheat flour, mix until no dry flour is left. Cover and let sit for 30- 45 minutes. This is called the Autolyse.
- In a separate small bowl, add 25g room temperature filtered water(1/8cup) and 10g of sea salt(1&3/4 tsp), stir to start dissolving the salt.
- Then, after it had a chance to absorb the water, now add the salt & water mixture. and mix it in with your hands. You should see that the dough already is softer and not so shaggy. Cover, and let sit for 30-60 minutes. This is the beginning of the Bulk Ferment.
- Pull & fold dough in the bowl, turning the bowl a few times, Then cover.
- Repeat this Pull & Fold technique every 30-60 minutes until the dough rises about 20-30%. It should get bubbly, and stretchy over time. This phase should take about 4-6 hours.
Shaping The Loaf
- Then, take it to a clean flat work surface, cut the dough into 4 equal size pieces. Pull and fold each dough piece, and start to shape the loafs. Use the cup & turn technique to form a round shape. Let the dough balls rest for 10-20 minutes. This is called the Bench Rest.
- Repeat shaping 1-2 more times, until each ball forms good surface tension. You should notice the dough ball "remembers" better each time you shape it.
- .During this time, preheat oven to 480*F with a small oven safe bowl of water. So it will make a steam oven.
- Coat each dough ball with a little rice flour and score the loaf with a little plus sign.
- Line a baking sheet with parchment paper, place each loaf on the lined baking sheet.
- Bake bread bowls for 15 minutes at the 480*F
- Then, decrease oven to 425*F and continue baking 20-25 more minutes. Check the temperature of the loaves, and bake until the internal temperature of each loaf reaches. 210*F
- Let the loaves cool completely before slicing into them.
- Once cooled, carve a circle on the top of each loaf to form a vessel for your soup or whatever you want to fill them with.
- I have a great soup recipe that pairs perfectly with these bread bowls.
Video
Notes
*This post contains affiliate links, which means I make a small commission at no extra cost to you! As an Amazon Associate I earn from qualifying purchases. But I will only suggest items I actually Love and Have Used!


Is this your 1st sourdough recipe that you’ve posted? Good for you!
Thanks! This is my first sourdough bread loaf recipe, yes! I have several sourdough discard recipes on my site.
Thanks. Very easy and good recipe. I made both bread and soup. Both are very delicious. Thanks again.
Thank you! We love this especially if its cold or rainy out! Nice and comforting!
Hi , first let me start off by saying I love your recipes and every one including this one has been great! Until we got to the baking , I made sourdough often before I started with fmf, yours is my first sourdough bread the oven temp at 480 for 15 min then lowering it to 425 for 20- 25 min left my bread bowls hard as a rock on the outside and raw on the inside. I had the same trouble with other sourdough recipes that used high temps like that when I used store bought flour. Then I came across king arthur flour recipe that baked it at 350. Whala it was still crispy outside not burnt and done on the inside. I made a double recipe today so I’m going to try the second pan my way because I don’t want to ruin all of them . I don’t understand how this works for anyone else. I followed the instructions to the letter. Any thoughts of why it won’t work for me? I have checked my oven temp. Keep up the good work. I love that you recipes have a video. I have been making everything with fmf now.
Hmmm the only thing I can think of is the oven at that high temp runs hot. But, if you checked it, then that wouldn’t make sense. But, what you are describing is an oven that runs a bit hot. In which case lowering the temp will give you better results. I would say you are better off doing what works for you, and if you try a recipe just use the baking temp and time that seems to work for you! I hope that helps! Happy Baking!
Thank you for sharing your recipe. These look great. I’m in the process of making the bread bowls, but was wondering is it necessary to sift your fresh ground flour before using it for the recipe? Thanks!
I don’t sift my flour for any of my recipes. I just use the fresh milled flour like it is! I hope that helps! There is a video that goes with this recipe if you are interested as well. https://youtu.be/a7hM2Ti95Bc?si=xe0mh5g0xzhwayc-
Amazing! I have made a number of your recipes now and have had great success with them all! I appreciate your straight forward explanation. Looking forward to trying more soon!
Yay! I am so happy to hear this! Thank you! Happy Baking!
Hello, how come you dust with rice flour? Can you dust the loaves with the fresh milled grain flour?
I dust with rice flour for a couple reasons. 1. If someone is making sourdough because they need to for health purposes, (i.e sensitive to gluten) Then, dusting with wheat flour after the fermentation could cause an issue. If you do not have any health reasons for this, then you can absolutely dust with some more fresh milled flour. BUT, the second reason is because more wheat flour on the top tends to absorb in, and can become sticky, whereas the rice flour helps it not to stick, and is easier to work with. There are times I will use more fresh milled flour on my loafs, but for the recipe and video purposes, I want to make sure if someone is learning to make this, and requires all the wheat flour to have been fermented that they can safely know this is a safe method. I hope that helps! Happy Baking!
It says add one Tbsp of sourdough starter but that’s for the leaven? But I already have a jar of starter so I’m wondering how much sourdough starter you actually put in your dough that 1 Tbsp of starter makes?
I use 1/2 cup active sourdough starter (115g).
My bread bowls came out great. I could have cooked them a little more but that was all me not the recipe. I have been trying to make sourdough for awhile but had no success until now. These didn’t go flat. Can I make this in a loaf and not four bowls?
I am glad they worked out! Yes, you can make them into one big loaf, the baking time will be longer.