
How to Master The Window Pane Test: Fresh Milled Flour Secret
How to Master the Window Pane Test with Fresh Milled Flour: Tips and Techniques
If you’re an avid baker, you know that achieving the perfect bread dough can be a bit tricky at times. One important step in bread-making, especially with freshly milled flour, is mastering the “window pane test.”
What Is The Window Pane Test?
The Window Pane Test is a method of checking whether the dough has been kneaded enough to develop gluten. But, did you know that using fresh milled flour can make a big difference in your window pane test results? Fresh milled flour can be a little more difficult to obtain the window pane stage. I want to provide tips, tricks, and techniques for mastering the window pane test with this special ingredient. I have a wonderful simple sandwich bread recipe that I use all the time, and gets me the window pane each time, HERE is that recipe.

Benefits Of Fresh Milled Flour
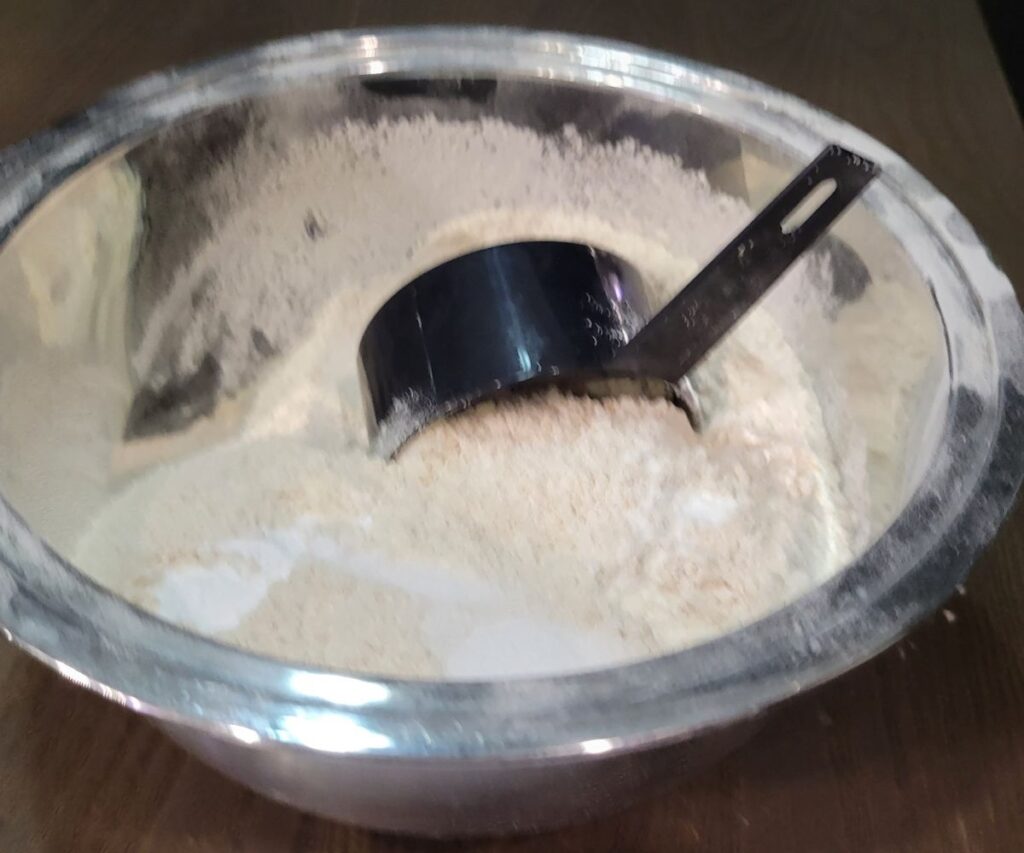
Fresh milled flour is made by grinding whole grains (typically whole wheat berries/kernels) into flour just before using it in a recipe. Unlike commercially milled and processed flour, which can sit on store shelves for months, fresh milled flour retains most of its nutrients and flavor. Using fresh milled flour in bread-making can result in a richer, more complex flavor and a better rise. And, because the bran (main source of fiber in wheat berries) stays in the flour, this also affect the outcome of your window pane test, making it more difficult to achieve the desired result.

Tips for Mastering the Window Pane Test While Using Fresh Milled Flour
- Knead the bread dough until it becomes smooth and elastic.
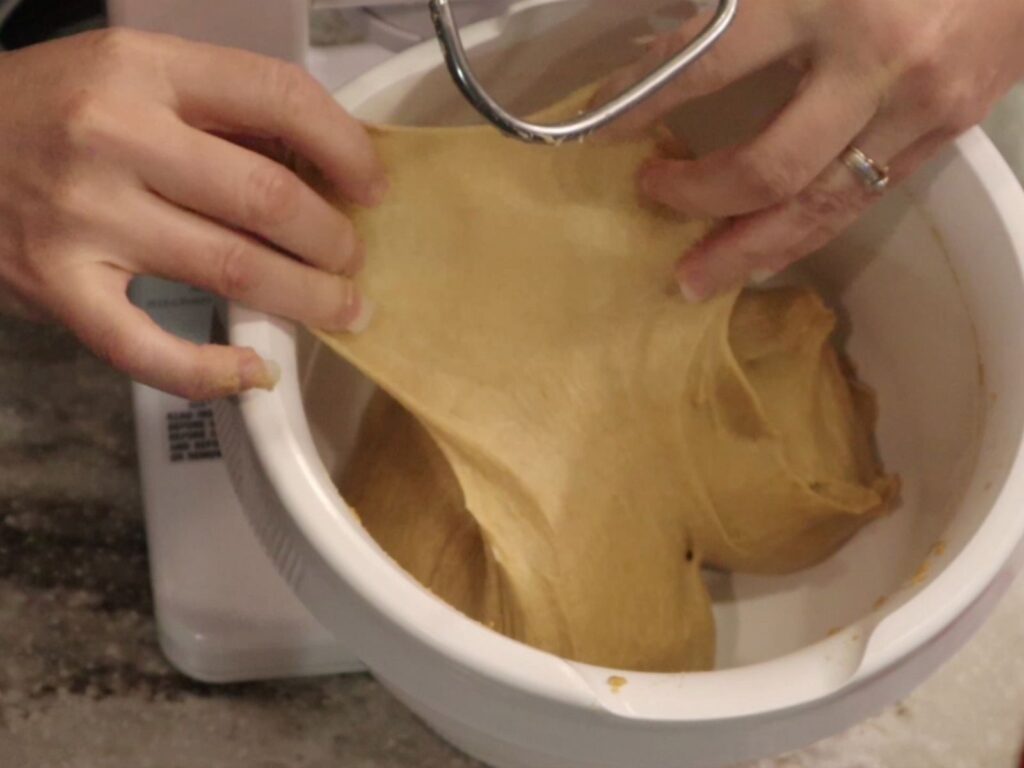
- To perform the window pane test, gently pull a section of dough and stretch it out thin enough to see light through it without tearing. (It is important to be gentle with the dough, because of the bran, it can tear easily.) But, once you have felt a successful window pane you will be able to tell the difference.
- If the bread dough stretches without tearing and you can see light through it, you’ve passed the window pane test and the gluten has been properly developed. Now, it is ready to let sit and rise.
Techniques for Using Fresh Milled Flour
- Use a dough hook on a stand mixer to knead the dough. (I am not saying it is impossible to do this by hand, but using a stand mixer will greatly benefit you while making bread with fresh milled flour.)
- The time for kneading varies GREATLY! Some will only have to knead for 10 minutes, and others may need 20-30 minutes. (this varies on kind of grain, type of mixer, humidity, elevation, experience, time, etc.)
- Check on the dough from time to time while kneading, and watch for a change in texture. It will become smooth and stretchy.
- Experiment with different types of fresh milled flour, such as mixing Kamut or spelt into a hard wheat variety, to achieve different flavors and textures in your bread.

What To Do If My Dough Is Not Reaching The Window Pane?
I have come up with three different tricks to use when your dough just doesn’t seem to be forming a window pane.
- First and foremost, knead it longer! I have found that fresh milled flour needs to be kneaded so much longer than commercial flour. (If using processed white flour, over kneading can be an issue, but I find that over kneading is a rare issue with fresh milled flour.)
- Add Some liquid! If your dough is too dry, it will NEVER reach the window pane completely. I will add some room temperature water and slowly mix that in. Freshly milled wheat is thirsty! It will take on more liquid as the kneading goes on.
- This is my last resort, and rarely use it. But, another option is to add vital wheat gluten to your dough. This will add gluten to the dough making a window pane easier. I don’t even use this option anymore, but I know many who still do with great results. I find that option 1 or 2 will fix it every time! Just be patient, and don’t rush the process.
What If I Don’t Have Time, and Just Bake Before It Reaches The Window Pane?
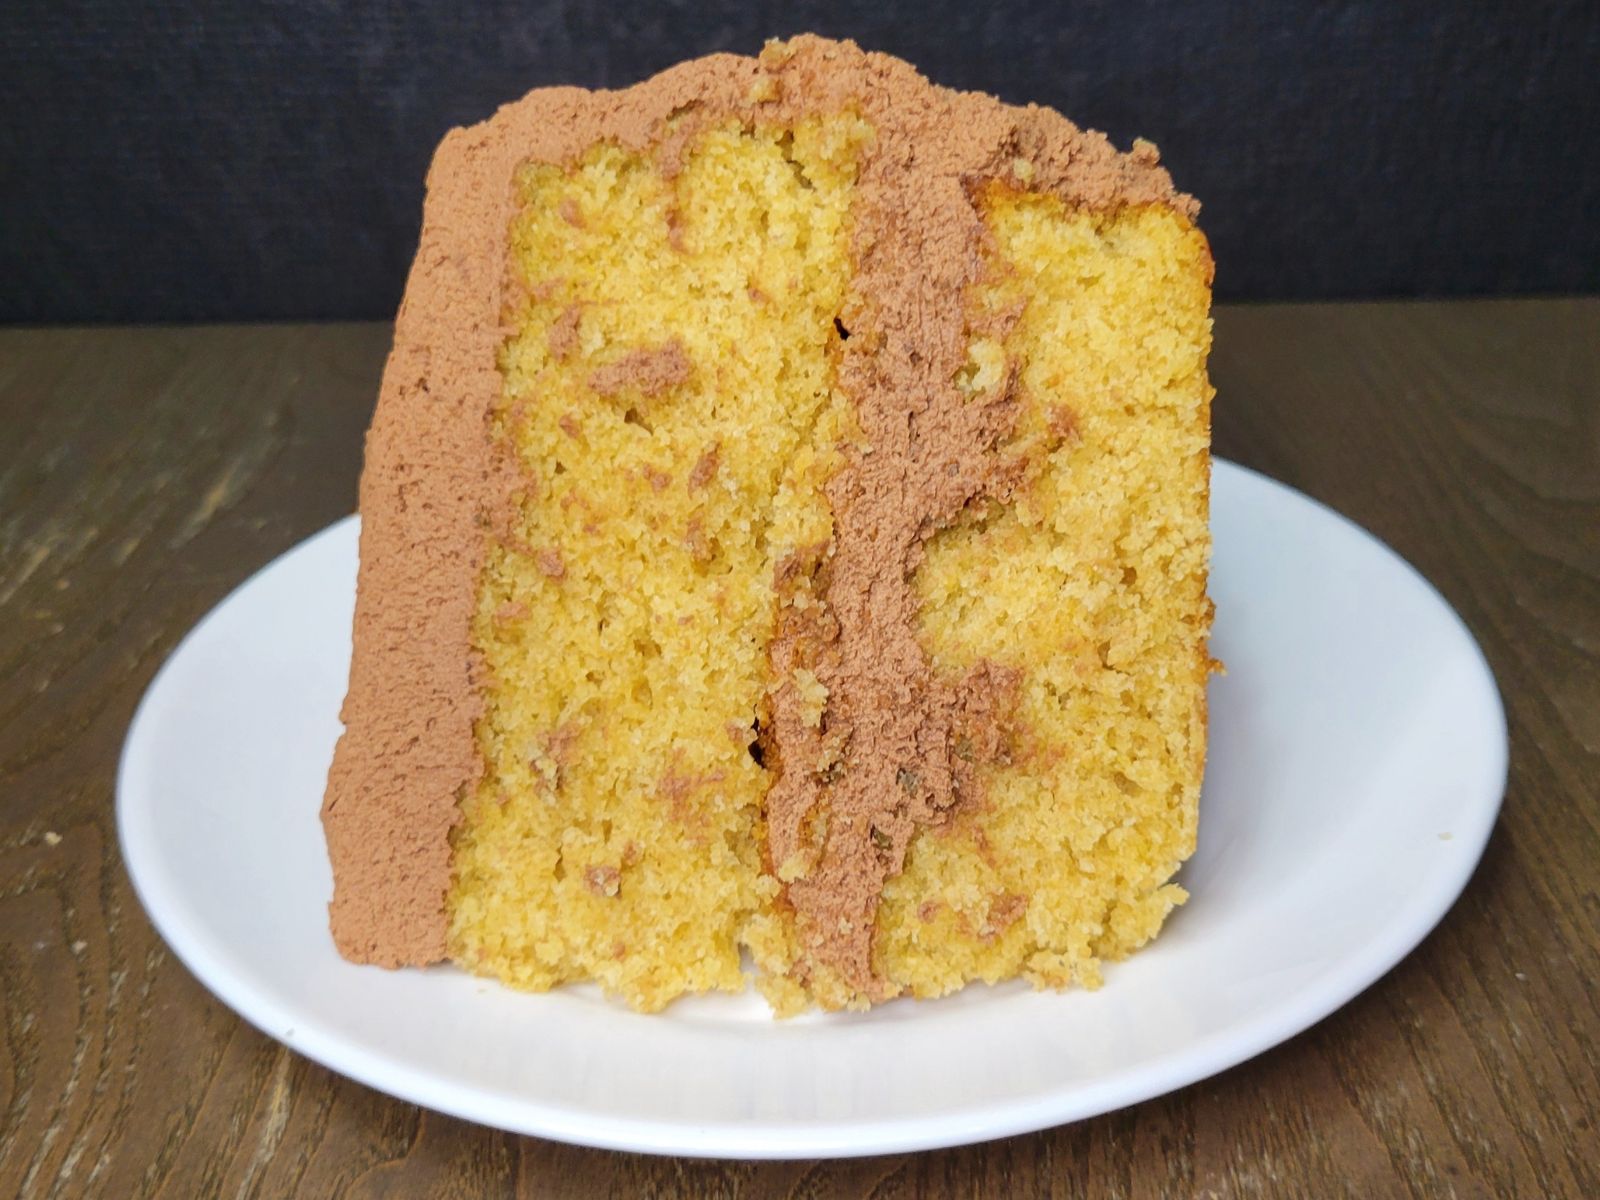
If you are out of time, and can’t get the window pane, and you have exhausted all the options above, you can go ahead a proceed. Your bread will still be good, and nothing will be wrong with it. The window pane just will help with a lighter fluffier squishier loaf, more like the kind you remember buying at the store. I will be honest, there are times my family will crave a bit of a denser loaf to hold up to eating with soups or stews. I this case, I will purposely under knead my bread to give me that heartier denser bread loaf. But, generally when I am making sandwich bread or any other bread, I love the light and fluffy texture the successful window pane test brings!
Mastering the window pane test with fresh milled flour will take your bread-making skills to the next level. By following these tips and techniques, you can achieve the perfect bread dough every time. To learn more about milling your own flour watch my Fresh Milled Flour 101 Video HERE
Or start by checking out my blog post on Fresh Milled Flour 101 HERE
Shop This Post
Toaster Oven With Proofing Function
Check Out Some Of My Recipes
Fresh Milled Flour Recipe Index
*This post contains affiliate links, which means I make a small commission at no extra cost to you! As an Amazon Associate I earn from qualifying purchases. But, I will only suggest items I actually Love and Have Used!


Greetings!,
I just viewed your tik tok video clip on Italian bread. Do you have that recipe. I am new to freshly milled grains.
I have obtained some literature about its Health benefits. I have had the pamhelts copied to share with others. I would like to send you copies. This information is no longer available from it’s source.
Please respond soon as, I like to make the bread tomorrow , Thursday
May 11.
Best Regards Laura Tempestini
Thank you! Yes, my 4 ingredient Bread is what I use for my Italian bread, and at the bottom of the recipe in the notes section it says the amounts I do for fresh milled flour and of each kind. Here is the link. Happy Baking!
https://grainsinsmallplaces.net/easy-4-ingredient-bread-made-with-fresh-milled-flour/
After messing up your everyday bread loaf recipe, overworking the sub rolls recipe, I read this blog post and my pizza dough came out successful! Turns out I was missing the sweet spot of kneading. I stood there and watched my dough change- which was helpful! Thanks for teaching and encouraging!!
It is so great when we can see the dough change! That way you know what to look for in the future! Thank you!
Do you find that Rye also needs a long time to knead as well. I have heard that you need to go less time. My main concern with the longer kneading is that my dough gets so hot & I’m thinking all the good nutrients are being killed off by the heat.
Rye doesn’t develop much gluten, so there is no need to knead it longer. It is not likely it will ever develop enough gluten by itself to get to a windowpane. Generally you will need mostly a hard wheat or add vital wheat gluten to an all Rye loaf.
I use primarily spelt and I have the issue of very sticky dough that just does not want to come together. Sometimes it will begin to form a solid lump and then I’ll check for window pane and it tears so I’ll walk a door a few minutes and come back and it’s all gloopy again. What am I doing wrong? I have added less water, more flour and all kinds of things. I kneaded my last batch for over 30 minutes in the stands mixer to no avail. Help!!
What mixer do you have? Also, if using just spelt, it has gluten, but it is a lax gluten, so it doesn’t hold it’s shape very well. I like to add in some hard wheat which will give you some strong gluten. I tend to do 75-80% hard white and the rest spelt or Kamut.
Hello! I love your recipes! The taste is always delightful and the bread always looks so delightful in its loaf form; however, I cannot seem to cut it without it falling apart! Would you happen to know why that might be? I just started using fresh milled flour at the beginning of this year, so I am still practicing. Thanks!
I have a new method that may be super helpful if interested, here is that video. https://youtu.be/uvHXu3R6WH8
But, sometimes it really can just be the knife when cutting. I recommend a very sharp serrated knife it can make a huge difference, others like to use an electric knife, but I don’t have one of those. This is the knife we use, it was pretty inexpensive too. https://amzn.to/3KOS1pE #ad
I’ve had the opposite experience – perhaps it was the recipes I was using, but before fmf, I had to run my KA 15+ minutes to get my dough to windowpane. Now it seems to be around 5min. And with everyone saying how hard it is to achieve I’m wondering if I’m missing something? I know what a windowpane is and that’s what my dough is showing….I also recently decided to just let it keep mixing thinking maybe it would help the texture and instead it overmixed to a goopy mess.
Just go until your dough is nice and stretchy, and don’t worry about times.
What if you don’t have a mixer? Got some kneading tips to help achieve the windowpane?
Here is my video on kneading by hand. But, the best tip is time is your friend with a longer autolyse. https://youtu.be/mbiSdbw3evM